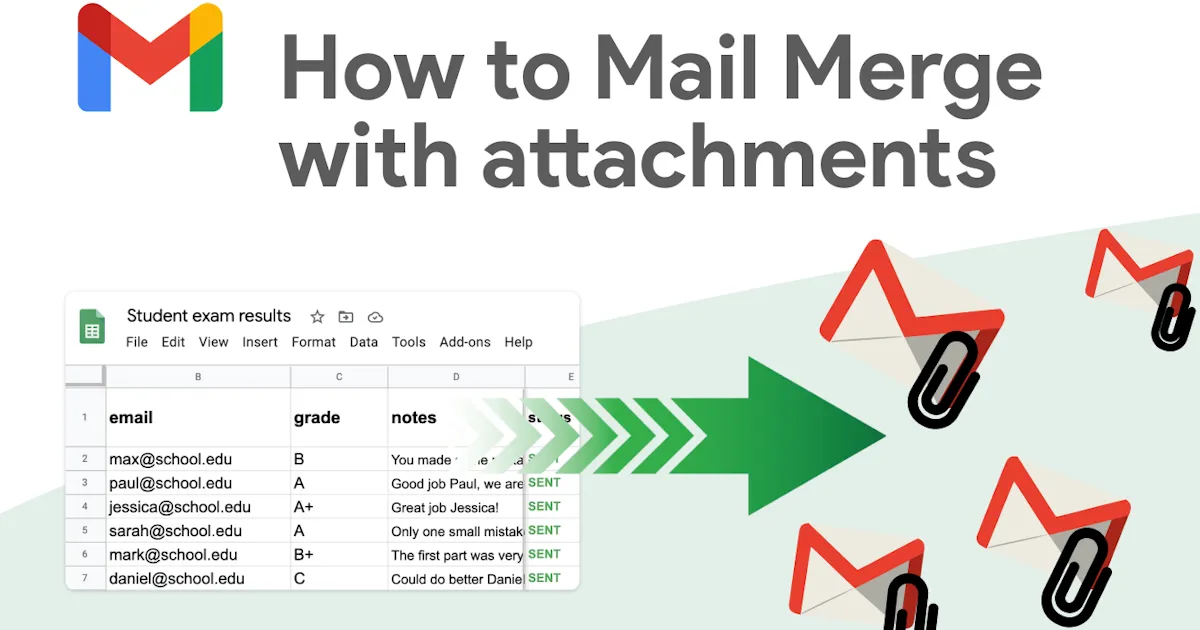
How to Mail Merge with Attachments (2025): The Best Methods for Gmail & Outlook
Attach, personalize, send! Master mail merge with attachments in Gmail & Outlook and impress your contacts in just a few clicks.
Sending bulk emails with attachments isn’t as straightforward as it seems. This article walks you through the best tools and methods. both free and paid. to overcome these limitations and automate your professional email campaigns effortlessly.
Key takeaways:
-
Gmail and Outlook don’t offer advanced options for mail merge with attachments.
-
The Mail Merge for Gmail add-on makes it easy to attach files directly from Google Drive.
For Outlook, you’ll need external tools such as SecureMailMerge, Mail Merge Toolkit, or Power Automate.
Does Gmail Allow You To Include Attachments In A Mail Merge?
Yes, Gmail does let you add an attachment in a mail merge. However, there are a few limitations to keep in mind:
-
The same attachment is sent to all recipients.
-
Each attachment is copied into every individual message, which can quickly use up your storage space.
-
The native mail merge feature isn’t available for free Gmail accounts.
👉 Check out our detailed article What is Mail Merge in Gmail, which explains everything you need to know about this feature. its advantages and its limitations.
That’s why using the Mail Merge for Gmail add-on can make your workflow much simpler.
How Mail Merge for Gmail Simplifies Managing Attachments in Mail Merge
What is Mail Merge for Gmail?
It’s a simple, lightweight add-on designed to work seamlessly with Gmail and Google Sheets.
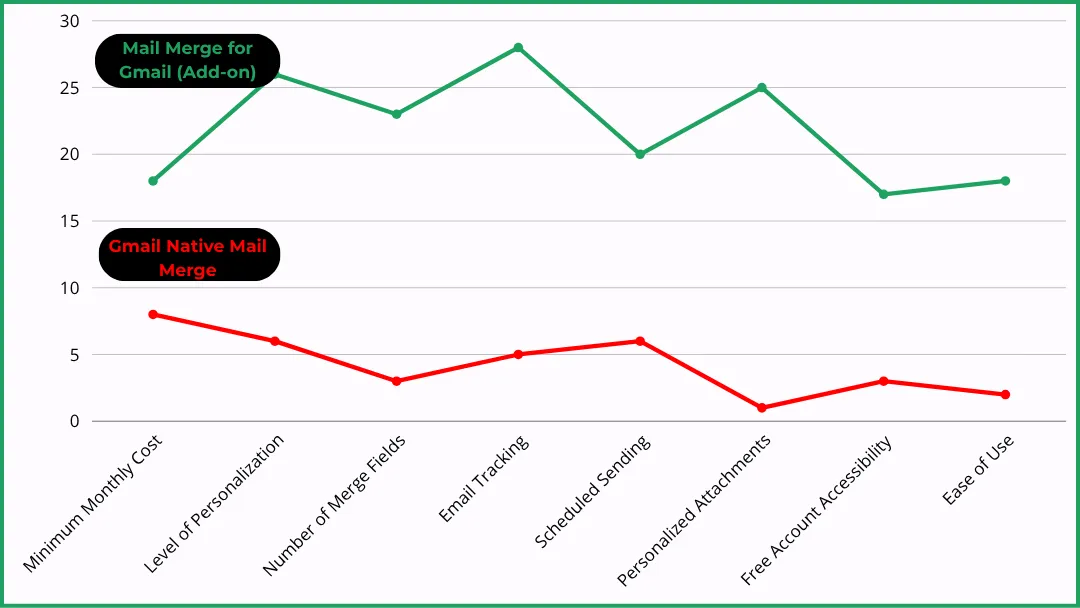
🌟 What makes it better than Gmail’s native mail merge? You use an add-on like this to do everything Gmail’s built-in mail merge can’t. such as:
-
Advanced dynamic fields,
-
Email throttling to avoid sending limits.
And the best part? Even if you’re using a free Gmail account , you can still use Mail Merge for Gmail.
How to add an attachment with the Mail Merge for Gmail extension?
It’s actually very simple.
Step 1: ensure your attachment meets these two criteria
-
It is smaller than 5 MB.
-
It is uploaded to your Google Drive.
Step 2 (Optional): upload your attachment to Google Drive
-
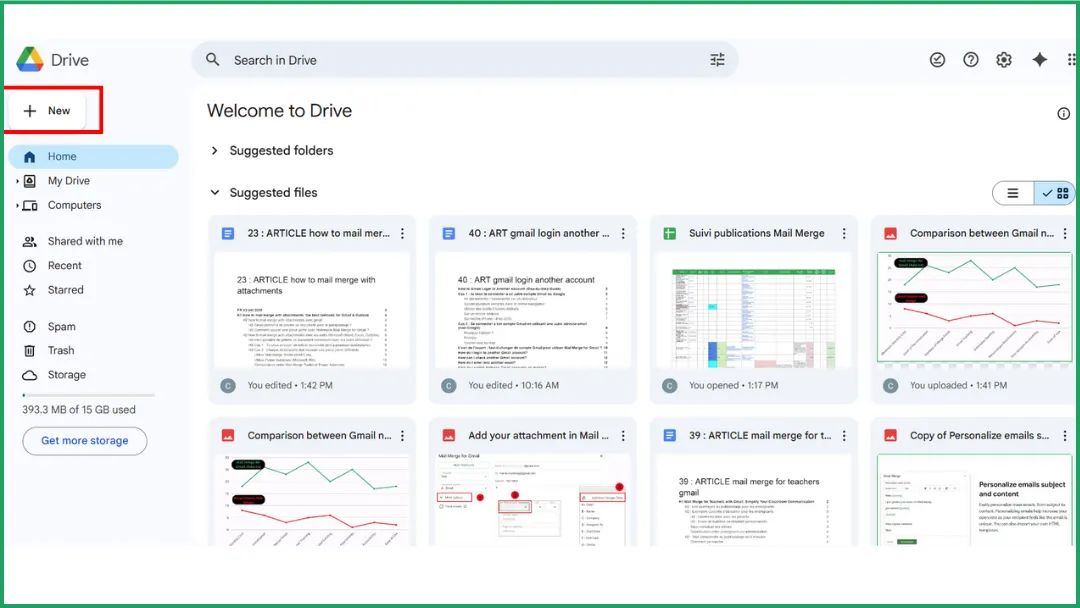
Go to Google Drive and find the New button in the left-hand menu. Click it and choose File upload from the dropdown list.
-
Browse your computer to locate the file you want to upload. Once selected, click Open to begin the upload process. You can upload a ZIP file if you want to attach multiple files, but you cannot attach multiple files individually.
-
Once uploaded, your file will appear in Google Drive.
Step 3: open the Mail Merge for Gmail extension
-
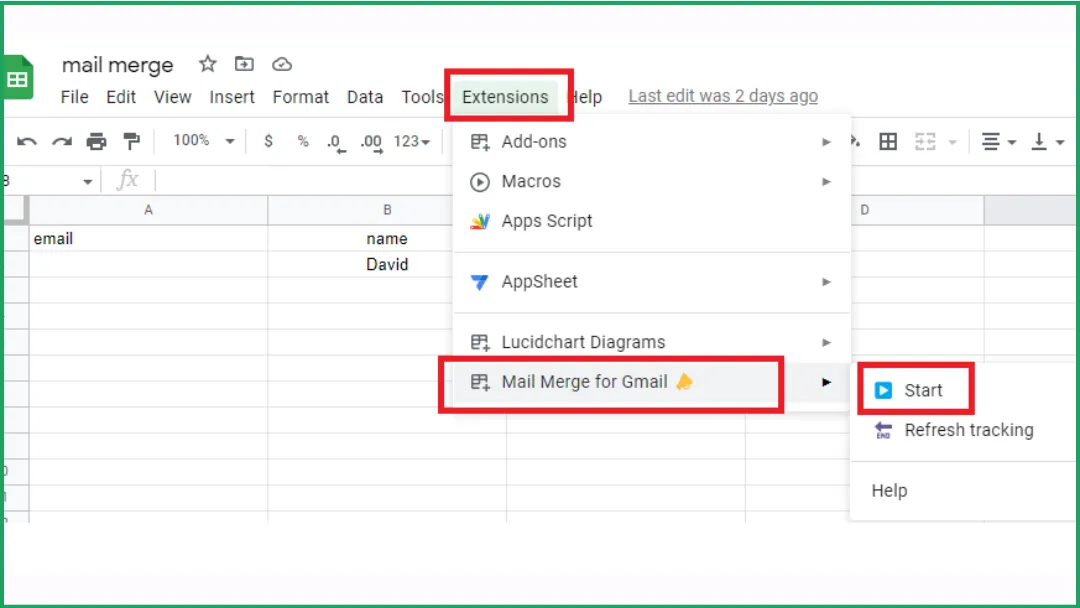
Open Google Sheets.
-
Go to Extensions > Mail Merge for Gmail > Start.
-
Access your email template.
If you’d like to create your mail merge directly from Google Sheets, check out our step-by-step guide: How to Mail Merge from Google Sheets.
Step 4 : add your attachment
-
Click the dropdown menu labeled More options.
-
Click Attachment, then select Add from Google Drive.
-
Choose your file and click Select.

A confirmation window appears.
How to Mail Merge with Attachments Using Microsoft tools: Outlook, Word, Excel
Can You Natively Attach Files When Using Microsoft Tools?
No. doing a mail merge from Word or Outlook with attachments isn’t natively supported in Microsoft tools. To work around this limitation, you have several options:
1️⃣ Use third-party add-ins for Outlook or Word, such as:
-
Mail Merge Toolkit (by MAPILab).
-
SecureMailMerge (an Outlook 365 add-in officially published on Microsoft AppSource).
-
OutlookFreeware “Mail Merge with Attachments”.
-
OMMA, a VBScript-based tool/script that runs after the mail merge.
2️⃣ Use scripts ( VBA , macros , or VBScript ) to automate the process of adding attachments.
This option is free, but quite technical and complex.
3️⃣ Use Power Automate (included in Microsoft 365) to automate sending emails with attachments.
| Method | Ease of Use | Cost | Average setup Time |
|---|---|---|---|
| Third-party add-ins | 🟢 | 💲💲 | Less than 10 minutes |
| Script (VBA, VBScript, macro) | 🔴 | 💲 | 20–40 minutes |
| Power Automate (Microsoft 365) | 🟠 | 💲💲💲 | 30–60 minutes |
You can also explore other mail merge alternatives that fit your specific needs and budget.
Case 1: You Want to Send the Same Attachment to Multiple Recipients
➡️ Easiest solution: SecureMailMerge (free version, Outlook 365).
-
Install the add-in directly from Microsoft AppSource (just two clicks).
-
Import your Excel sheet (with addresses, names, etc.).
-
Add your attachment.
-
Write your email directly in Outlook.
-
Send everything at once.
🕓 Total setup time: about 5 minutes.
🔗 No code, no scripts required.
⚠️ If you want to send a different attachment to each recipient, SecureMailMerge supports that too. you just need to include an “Attachment Path” column in your Excel file.
Case 2: Each Recipient Needs a Different Attachment
Use Mail Merge Toolkit (MAPILab)
This add-in adds an “Attachment” field to your Word mail merge source.
💲 Cost: around €30, 40 for a lifetime single-user license
⚠️ Compatible with Windows only
Use Power Automate (Microsoft 365)
This tool lets you automatically generate and send personalized emails from an Excel file, SharePoint list, or database.
💲 Cost: depends on your Microsoft 365 subscription
⚠️ No-code interface, but you’ll need to understand the basics of “flows” and Outlook/OneDrive connectors.
Mail Merge Toolkit vs. Power Automate
Extensions are our specialty! 😉 Comparing tools is also something we love to do. In fact, we’ve put together a comprehensive guide ranking the best tools for cold marketing.
| Criteria | Mail Merge Toolkit (MAPILab) | Power Automate (Microsoft 365) |
|---|---|---|
| How it works | Adds an “Attachment” field in the data source (Excel, CSV, etc.) | Creates an automated flow connecting Excel/SharePoint and Outlook to send one email per row |
| Ease of use | 🟢 | 🟠 |
| Technical skills required | 🟢 | 🟠 |
| Setup time | 10, 15 min | 30, 60 min |
| Cost | One-time license. | Included with Microsoft 365. |
| Reliability / stability | 🟢 | 🟢 |
| Attachment storage | Local or network files. | OneDrive / SharePoint recommended. |
| Best for | When you want a simple, fast, and code-free solution. | When you want to stay 100% within the Microsoft ecosystem and automate recurring emails. |
Frequently Asked Questions About Mail Merge with Attachments
Can We Add An Attachment In A Mail Merge?
Yes, but it depends on the tool you’re using.
-
With Gmail , the built-in feature is limited. it only allows the same file for all recipients, and it’s not available for free accounts. The Mail Merge for Gmail add-on makes this process much easier.
-
With Outlook , the native mail merge function doesn’t support attachments. To work around this limitation, you’ll need to use an external add-in.
How To Do Mail Merge With PDF Attachment?
There are several options depending on the tool:
-
With Gmail, the easiest method is to use Mail Merge for Gmail. You import your contacts from Google Sheets, write your message, and then select your PDF stored in Google Drive.
-
With Outlook , you can use an add-in such as Mail Merge Toolkit (MAPILab) or set up an automated workflow using Power Automate.
How Do I Mail Merge With Multiple Attachments In Outlook?
Outlook doesn’t natively support multiple attachments in a mail merge. However, there are a few effective workarounds:
💡 Mail Merge Toolkit (MAPILab): This add-in adds an “Attachment” field to your data source (Excel, CSV, etc.).
⚙️ Power Automate (Microsoft 365): Connects Excel and Outlook to send personalized emails. each with one or more attachments stored on OneDrive or SharePoint.
🧩 SecureMailMerge (Outlook 365): Perfect for attaching the same document to all recipients, or different files per contact by adding an “Attachment Path” column in your Excel file.
All of these solutions work well. they just require a bit of setup.
Where is “Merge with Attachments” in Word?
Nowhere 😅. Word doesn’t offer this feature natively.
Conclusion
Adding attachments to a mail merge doesn’t have to be complicated. Whether you use Gmail or Outlook, extensions, scripts, or automation tools can help streamline the process.
For the easiest and fastest way to send personalized emails with attachments, try Mail Merge for Gmail!
Ready to send your first campaign?
Install Mail Merge for Gmail from the Google Workspace Marketplace and send up to 50 personalized emails per day for free.
Install on Google WorkspaceMore reading
More from Tutorials
How to Master Email Address Search in 2026
Learn practical email address search methods for 2026, from search operators and pattern guessing to verification, privacy rules, and outreach prep.
Reminder Emails for Events: A Guide to Higher Attendance
Discover how to craft effective reminder emails for events that boost attendance and engagement. Practical tips inside.
How to Trace Emails: A Practical Step-by-Step Guide
Learn how to trace emails with practical methods for reading headers, checking IPs, and verifying SPF, DKIM, and DMARC. Includes Gmail and Outlook examples.