


















How to Clean Email List: Your 2026 Guide
Learn how to clean email list with our 2026 guide. Remove bounces & inactive users, run re-engagement campaigns to boost deliverability.
List decay is steady and expensive. A meaningful share of contact records stop being usable every year, which is why list cleaning belongs in your regular email workflow, not on a someday project list.
For small businesses, the core problem is usually not a lack of tools. It is a lack of a practical system. A lot of advice on how to clean email list data jumps straight to paid verification platforms, even when the list is modest and the budget is tight. Other guides stay too broad to help. They tell you to remove inactive subscribers, but they do not show how to review a sheet, mark suppression rules, and keep the same bad addresses from getting mailed again.
The approach in this article is different. It uses Google Sheets and the Mail Merge for Gmail add-on to build a low-cost cleaning workflow that a business owner, office manager, or solo marketer can run. That matters if you send newsletters, customer updates, or operational follow-ups such as Payment Reminder for outstanding invoices, where sending to stale addresses creates both reporting noise and avoidable delivery problems.
A clean list gives you better odds of reaching the inbox. If inbox placement is already inconsistent, this guide on how to prevent email from going to spam pairs well with the cleaning process covered here.
One practical note before you pick tools. “Mail Merge for Gmail” is generic enough that search results often lump together different add-ons with similar names. Check that any tutorial, Chrome Workspace listing, or help doc matches the exact product you plan to use.
The Hidden Cost of an Unclean Email List
One bad segment can waste an entire send.
I have seen small businesses blame subject lines, design, or send time when the actual problem was simpler. They were mailing a list that had not been cleaned in months. Once stale addresses build up, every campaign gets harder to judge. Weak results may have nothing to do with the offer. The list itself is dragging performance down.
Bad data hurts deliverability, reporting, and time
An unclean list creates problems in three places at once.
- Deliverability drops: Invalid addresses and repeated sends to abandoned inboxes increase bounces and weaken sender reputation.
- Reporting gets noisy: Open and click rates stop reflecting real audience interest because dead records stay in the denominator.
- Work gets wasted: You spend time preparing campaigns for contacts who will never see them.
That trade-off matters more than list size. A smaller list of reachable people usually produces better business results than a larger file full of expired, mistyped, or role-based addresses.
This is one reason I prefer a simple sheet-based cleaning process for smaller teams. You do not need an expensive verification stack to catch obvious problems early. A disciplined review in Google Sheets, followed by controlled sends through Gmail, solves a large share of the issue before it turns into a reputation problem.
The hidden cost shows up outside marketing emails
List quality affects more than newsletters and promotions. It affects reminders, service updates, renewal notices, appointment follow-ups, and billing emails.
If a customer record is wrong or outdated, the message does not just underperform. It fails at its job. A payment follow-up sent to an old address does not help cash flow, no matter how well the copy is written. If that is part of your workflow, this guide to Payment Reminder for outstanding invoices is useful for the message itself, but the contact data has to be right first.
Dirty lists create expensive misreads
This is the part many non-specialists miss. Poor list hygiene can make good campaigns look bad and bad campaigns look normal.
Say a local business sends to 2,000 contacts and 300 of those addresses are stale, duplicated, or never belonged on the list in the first place. The campaign report now mixes real audience response with avoidable failure. That often leads to the wrong fix. Teams rewrite copy, change frequency, or swap tools when they should have cleaned the file first.
If inbox placement is already inconsistent, review these steps on how to prevent email from going to spam. Cleaning the list will not fix every deliverability issue, but it removes one of the most common self-inflicted ones.
Regular maintenance beats occasional panic cleanups
A large one-time cleanup feels productive, but it usually comes late. By then, bad addresses have already soaked up multiple sends, distorted reporting, and chipped away at sender trust.
A steady process works better. Review the list on a schedule. Flag obvious errors, suppress repeat bounces, remove duplicates, and separate inactive contacts before the next campaign goes out. That is the practical advantage of using Google Sheets with a Gmail-based workflow. It is affordable, easy to repeat, and realistic for a business owner or office manager who needs a system, not another platform to learn.
Auditing Your List for Health Signals
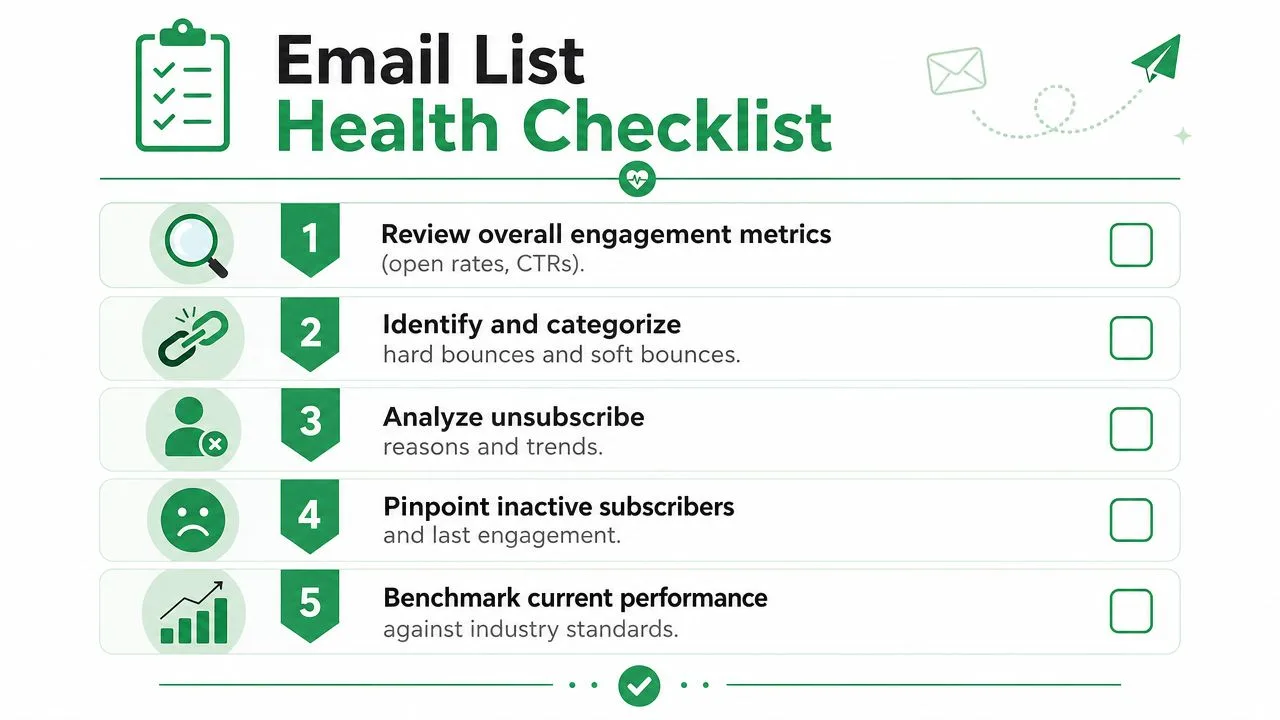
Before deleting anything, audit the list like a working dataset, not a contact dump. You’re looking for patterns that tell you whether the problem is invalid data, weak acquisition, subscriber fatigue, or all three.
Start with account-level warning signs
The clearest warning signs are your bounce rate and open rate. Immediate cleaning is warranted when bounce rate climbs above 5% to 10% or when open rate drops below 15% to 20% (Reddit small business discussion). Those are not subtle warning lights. They mean enough invalid or unengaged addresses have accumulated to put deliverability at risk.
This is also where cadence matters. Cleaning every 3 to 6 months is the benchmark for maintaining deliverability, with the 6-month interval often treated as ideal. More than 47% of senders fail to use double opt-in, which contributes to low-quality data entry and later bounce problems (Twilio).
Check the contact-level patterns
Once you’ve looked at campaign averages, move into the sheet itself. Sort and filter for the contacts that repeatedly cause trouble.
Here’s what to look for:
- Hard bounces: These are addresses that aren’t coming back. Remove them immediately.
- Repeated soft bounces: A full inbox or server issue can be temporary, but repeated soft bounces often point to abandoned accounts.
- Duplicates: Multiple rows for the same person create messy reporting and accidental over-mailing.
- Typos: Misspelled domains and malformed addresses still show up more often than people expect.
- Role-based addresses: Addresses like support@ or info@ can be valid, but they often behave differently from personal inboxes.
- Disposable or low-intent signups: These make the list look larger without adding real audience value.
Use a simple audit table
A fast audit works better when it’s visible. I usually map contacts into something like this before making any suppression decisions:
| Signal | What it usually means | Action |
|---|---|---|
| Hard bounce | Invalid or dead address | Suppress now |
| Soft bounce repeated | Temporary issue becoming a pattern | Flag for review |
| No opens for a long stretch | Disengaged or not seeing messages | Segment for re-engagement |
| Duplicate email | Data hygiene issue | Keep one record |
| Unsubscribed | Preference is clear | Suppress permanently |
If you can’t say why a contact is still on the list, that contact probably belongs in a review segment.
Sender trust depends on these details. If you want a deeper look at the reputation side, this guide on email sender reputation is a good companion to the audit process.
The Core Email Cleaning Process
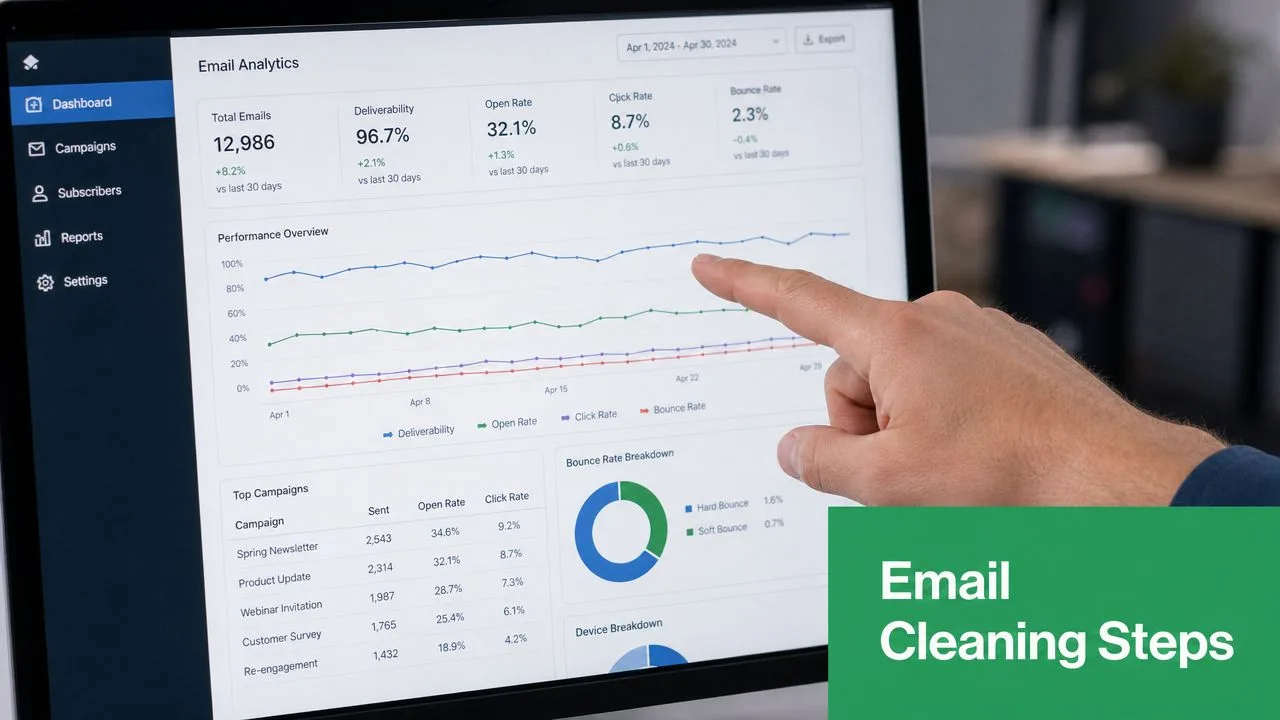
Once the audit is done, the cleaning itself should follow a strict order. Don’t start by deleting everyone who hasn’t opened recently. Start with the addresses most likely to damage deliverability.
Remove what’s clearly bad
The first pass should be decisive.
- Hard bounces go first: These addresses aren’t fixable in normal list maintenance.
- Invalid syntax and obvious mistakes: If the entry is malformed, don’t keep it “just in case.”
- Unsubscribed contacts: Never leave these mixed into your sendable audience.
That first pass is usually enough to improve the list immediately, because you stop repeating obvious mistakes on future campaigns.
Separate uncertain contacts from dangerous ones
The second pass is more nuanced. Not every weak record deserves instant removal.
Some addresses need review instead:
- Soft bounces: Keep them in a flagged segment and watch what happens over the next sends.
- Role-based inboxes: These can be acceptable in some B2B contexts, but they shouldn’t sit in your main list without labeling.
- Possible duplicates: Merge carefully so you don’t lose engagement history.
- Long-inactive subscribers: Move them into a re-engagement pool instead of wiping them out immediately.
A good cleaning process doesn’t treat every quiet contact as useless. It separates dead addresses from uncertain ones.
Don’t ignore catch-all risk
Many “how to clean email list” guides stop too early. They focus on obvious invalid addresses and miss the riskier category that still passes basic checks.
A 2025 study by DeBounce found that 12% of cleaned lists still contain risky catch-all emails, which can trigger spam filters over time and lower sender reputation (Reddit Email Marketing discussion). That matters most when you send at scale or run cold outreach, but even small lists can get dragged down if enough of these addresses accumulate.
Use tools selectively, not reflexively
Verification tools can help, especially on older lists or imported databases. But for small businesses, they’re optional, not mandatory, if you already have reliable bounce and engagement data. The mistake is paying for verification while still keeping sloppy suppression habits.
The practical hierarchy is better:
- Remove hard bounces and unsubscribes.
- Flag recurring soft bounces.
- Isolate questionable segments.
- Use verification only where uncertainty remains high.
That keeps costs down and avoids outsourcing judgment that your own campaign history already provides.
A Practical Workflow in Google Sheets
For most small teams, the cheapest effective setup is already sitting in front of them. A Google Sheet can act as your list-cleaning dashboard if you structure it properly and maintain a suppression tab with discipline.
Set up the sheet like an operations file
I like to split the workbook into tabs with one job each:
- Active list: Only contacts currently eligible to receive email.
- Campaign history: One tab or export area where status results accumulate.
- Suppression list: Hard bounces, unsubscribes, and addresses you never want mailed again.
- Review segment: Repeated soft bounces, duplicates under review, and inactive contacts queued for re-engagement.
This setup is simple, but it prevents the most common failure. People clean a list once, then accidentally re-import the same bad addresses a month later.
Turn status columns into decisions
The biggest advantage of a Google Sheets workflow is that campaign feedback can become row-level data. When your sending workflow writes statuses back into the sheet, you stop guessing which contacts are healthy.
That’s what makes a spreadsheet useful for hygiene. You can filter by outcomes like bounced, unsubscribed, opened, clicked, or replied, then decide what happens next. A contact who bounced doesn’t belong in the same segment as a contact who opened last week but didn’t click.
A simple cleaning routine inside Sheets looks like this:
- Filter for bounced rows and move them to suppression if they are confirmed hard bounces.
- Filter for unsubscribed rows and move them to suppression immediately.
- Sort by last engagement to identify stale contacts for a win-back segment.
- Highlight duplicate addresses with conditional formatting so one person doesn’t sit in the file twice.
- Use notes or a status column to document why someone was suppressed, reviewed, or retained.
Working rule: If your suppression list lives in a separate tab and gets updated after every send, list cleaning stops being a project and becomes a routine.
Respect Gmail limits when planning sends
Your workflow also has to respect sending limits. The true daily sending limit for mail merge tools integrated with Gmail is 1,500 recipients per day for personal accounts, while premium Google Workspace accounts can handle up to 2,000 addresses (Reddit Google Sheets discussion). That affects how you stage cleanups and re-engagement campaigns. Large segments should be split deliberately instead of pushed out all at once.
If you send event emails or physical check-ins alongside campaigns, side workflows in Sheets can help too. This tutorial on a QR code generator for Google Sheets is a good example of how far you can push one spreadsheet when you keep operations centralized.
A short walkthrough makes this easier to visualize:
Build a suppression habit, not just a suppression tab
The tab itself isn’t the point. The habit is.
After every campaign, review delivery outcomes and immediately push disqualified contacts into suppression. Don’t leave them in your main list because you “might need them later.” If later comes, they can always re-enter through a fresh opt-in. What you don’t want is an old hard bounce remaining eligible for your next send.
This is also where simple spreadsheet rules help:
| Tab | Keep there | Never keep there |
|---|---|---|
| Active list | Reachable, opted-in contacts | Hard bounces, unsubscribes |
| Review segment | Soft bounces, cold contacts | Confirmed invalid addresses |
| Suppression list | Bad or opted-out addresses | Anyone you still plan to email |
That low-cost system is enough for many organizations. You don’t need a complicated stack to clean well. You need clean rules and consistent follow-through.
Winning Back Inactive Subscribers
Deleting every inactive subscriber sounds efficient. It often isn’t.
Some people stop opening because the timing is wrong, the content drifted, or your messages are reaching a different folder than they used to. If you remove them too early, you can shrink your list without resolving the problem.
Inactive doesn’t always mean lost
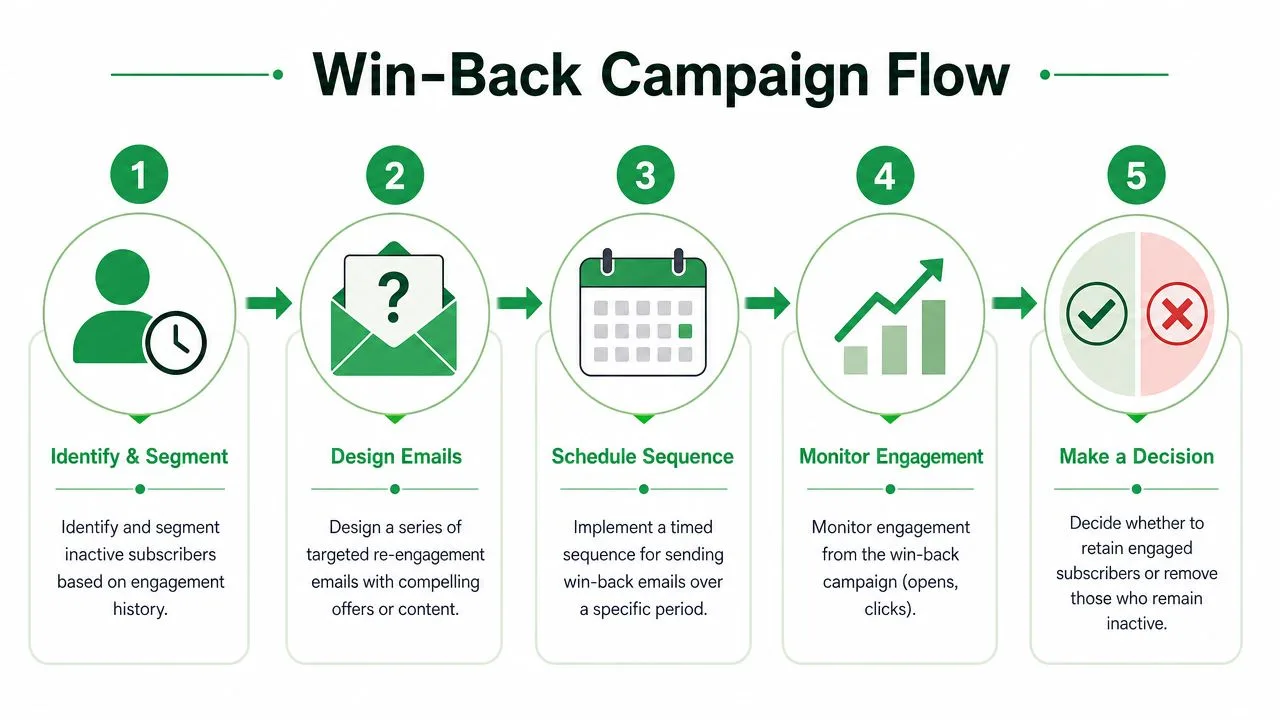
Research shows that up to 30% of subscribers who haven’t opened emails in 90 days may still convert if they receive personalized, value-driven content. A three-part re-engagement sequence can reactivate 15–20% of cold subscribers (Mailgun). That’s enough to justify a win-back attempt before permanent removal, especially for small businesses with limited audience size.
Use a short sequence with one clear purpose
A good win-back series isn’t a normal newsletter. It has one job. Confirm who still wants to hear from you.
I prefer a short three-email arc:
- Email one: Remind them why they signed up and what they’ll continue receiving.
- Email two: Offer something concrete, such as a useful resource, update, or incentive.
- Email three: Give a final stay-on-the-list decision with a clear call to action.
Keep the copy direct. Don’t bury the ask. The goal isn’t cleverness. It’s sorting engaged people from silent ones without annoying either group.
“Still interested?” often works better than a polished sales message when you’re trying to recover a quiet segment.
Define the exit point before you send
This part matters. If you run a re-engagement campaign without a removal rule, you’re just delaying the same decision.
Use a straightforward framework:
| Subscriber behavior | Keep or remove |
|---|---|
| Opens or clicks the win-back emails | Keep in active list |
| Replies or updates preferences | Keep and tag |
| Ignores the full sequence | Remove from active list |
| Unsubscribes | Suppress permanently |
You’re not trying to rescue everyone. You’re trying to give quiet subscribers one fair chance to signal intent. If they don’t, you can prune them confidently and improve the health of the remaining list.
Maintaining Long-Term List Hygiene
Clean lists come from habits, not rescue missions. If you only think about hygiene when a campaign tanks, you’ll keep repeating the same cycle.
Build prevention into intake and sending
The strongest long-term fix is better entry quality. Double opt-in helps confirm that an address is valid and that the subscriber wants your emails. A visible unsubscribe link matters too. People who want out should be able to leave easily instead of marking your message as spam.
Your maintenance routine should stay lightweight and boring:
- Review campaign outcomes regularly: Don’t let bounce or unsubscribe data pile up.
- Update suppression after every send: Make this part of campaign wrap-up.
- Apply a sunset policy: If someone stays inactive past your chosen threshold, move them into review or win-back.
- Keep one source of truth: Don’t maintain competing copies of the list in different files.
- Watch list growth quality: Fast growth is only good when the contacts are real and interested.
Choose consistency over complexity
A lot of teams overbuild this. They create too many segments, too many edge-case rules, and too many exports. Then no one maintains the system.
A better approach is one clean workbook, one suppression process, and one review rhythm. If you want a broader framework for that, this guide on email list management is worth bookmarking.
The healthiest email program usually isn’t the one with the biggest list. It’s the one that removes friction every time data goes stale.
If you keep the process simple, you’ll follow it. That’s what protects deliverability over the long term.
If you want a simple way to send personalized campaigns from Google Sheets while tracking delivery and engagement back in your spreadsheet, Mail Merge for Gmail is built for that workflow. It lets you send through Gmail, personalize beyond basic fields, track statuses such as sent, opened, clicked, replied, and unsubscribed, and keep your campaign data inside your Google account. For small businesses and teams that want practical list hygiene without a bloated tool stack, it’s a clean fit.
Ready to send your first campaign?
Install Mail Merge for Gmail from the Google Workspace Marketplace and send up to 50 personalized emails per day for free.
Get started for freeMore reading
More from Tutorials
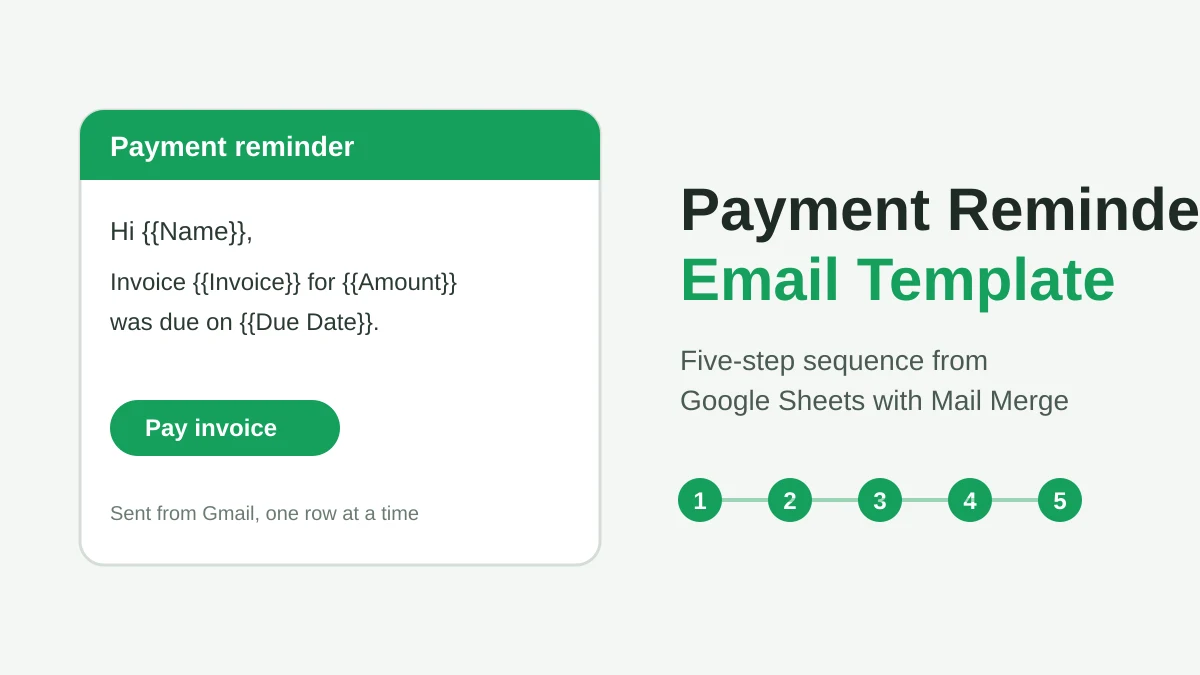
Payment Reminder Email Template: Five Messages You Can Send from Google Sheets
Copy a payment reminder email template for each stage of an overdue invoice, then send every reminder from Google Sheets through Gmail with personalized merge fields.
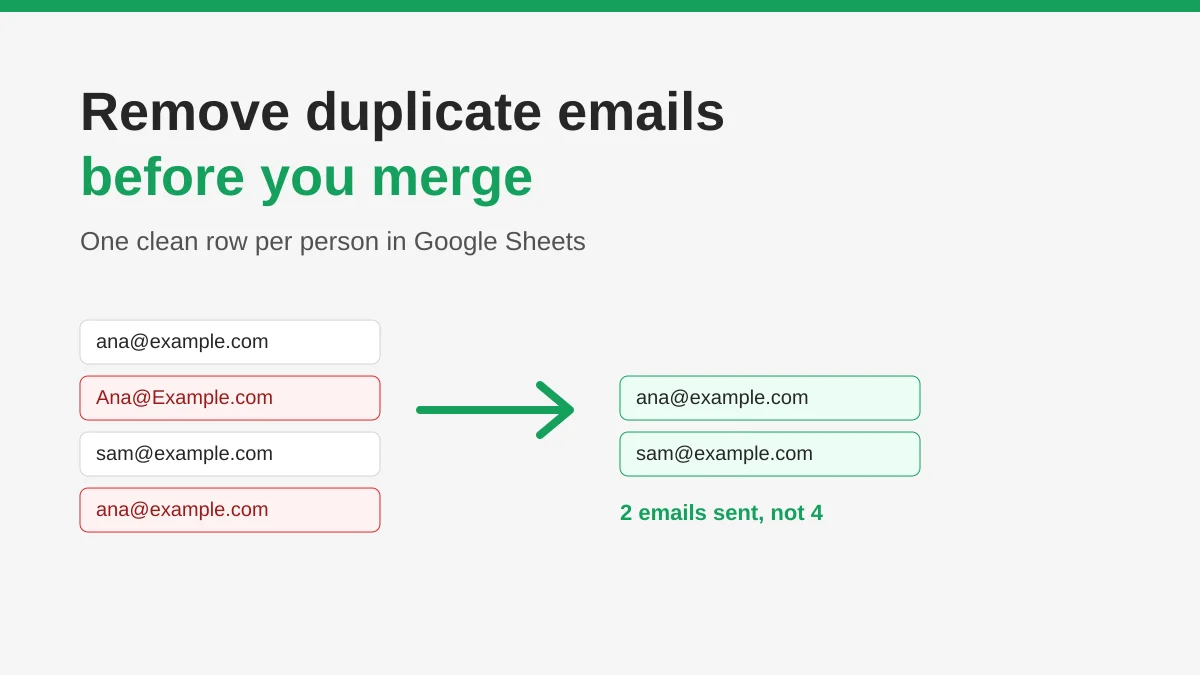
How to Remove Duplicate Emails in Google Sheets Before a Mail Merge
Learn how to remove duplicate emails in Google Sheets before a mail merge with Remove duplicates, UNIQUE and COUNTIF, so no contact gets the same message twice.
How to Build Targeted Email Lists That Actually Convert
Learn how to build targeted email lists that drive opens, clicks, and replies. Practical steps for sourcing, segmenting, cleaning, and GDPR-compliant outreach.