


















How to Trace Emails: A Practical Step-by-Step Guide
Learn how to trace emails with practical methods for reading headers, checking IPs, and verifying SPF, DKIM, and DMARC. Includes Gmail and Outlook examples.

Most advice about how to trace emails gets the question wrong. People talk as if tracing means uncovering a person’s street address, but that’s rarely what the message can prove. In practice, email tracing is a legitimacy and routing diagnosis, and the most useful evidence usually lives in the full header, the Received chain, and the authentication results that tell you whether the message was allowed to speak for the domain it claims to come from.
That shift matters because the visible From line is easy to fake, and sender location is often obscured by shared mail infrastructure. What you can usually learn, though, is whether the message followed a believable path, whether it passed identity checks, and whether your own outbound mail is being measured properly after it leaves the inbox. Those are the questions that separate useful tracing from guesswork.
What Tracing an Email Actually Means
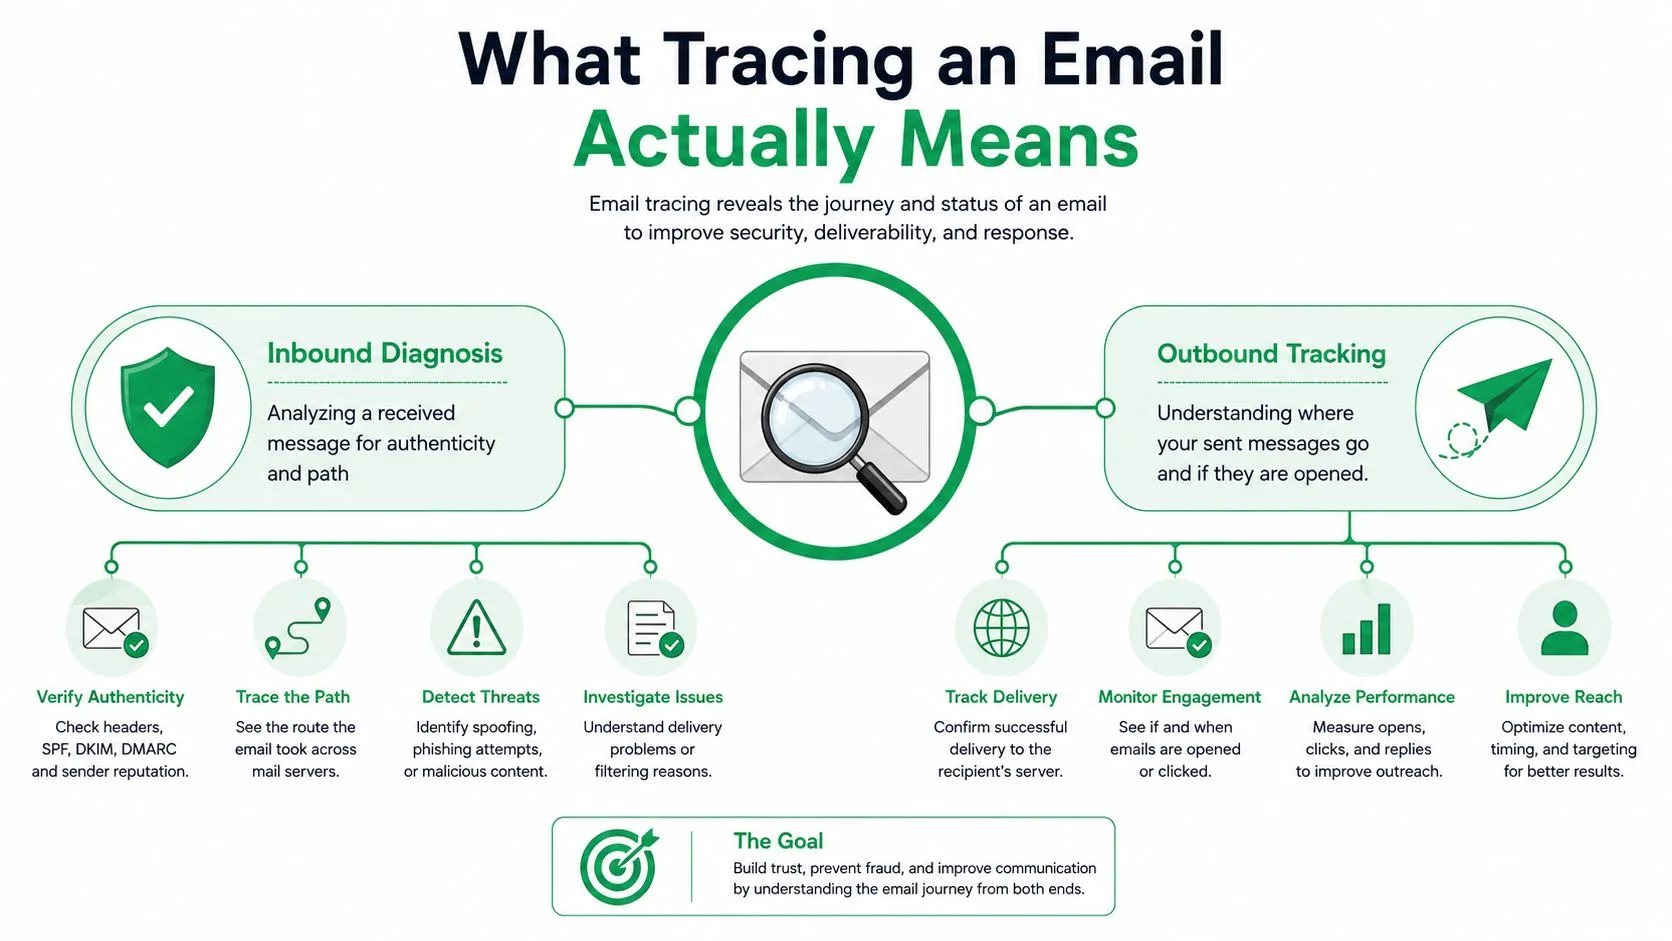
Tracing an email is not the same thing as finding the sender’s physical location. The better way to think about it is as two separate jobs, inbound diagnosis and outbound tracking. Inbound diagnosis asks whether a message is really from who it claims to be, while outbound tracking asks what happened after you sent a campaign.
Legitimacy first, location second
The visible sender name can be decorative. What matters is the technical path in the header, because tracing an email usually starts with the message’s full header, because that header records the route the message took through mail servers and may expose the originating or server IP address (Surfshark’s email tracing guide). That route is useful when you’re checking for spoofing, forwarded mail, relay abuse, or a suspicious hop that doesn’t fit the rest of the chain.
Practical rule: if the message looks odd, start with identity checks, not geolocation. A believable route matters more than a guessed city.
A lot of tracing content overpromises what the data can do. Modern mail often travels through shared systems, so the most reliable signal is often not a person’s IP at all, but the combination of SPF, DKIM, DMARC, and the Received chain. Gmail’s own help pages point users toward Show original for the raw header view, which tells you how central the header is to any serious investigation (Gmail support).
When you should trace and when you should track
If you’re investigating a suspicious inbound message, you’re looking for authenticity and routing clues. If you’re sending campaigns, you’re looking for engagement signals like opens, clicks, replies, and conversions. Those are different workflows, and mixing them up leads people to chase the wrong evidence.
Most readers only need one of these paths:
- Suspicious message: inspect the header, then verify authentication and route.
- Sent campaign: track delivery and engagement after send.
- Unclear case: use both, because a spoofed message and a poorly delivered campaign can fail in similar-looking ways.
That distinction is why this topic is broader than “find the sender.” It’s really about reading mail as a technical object instead of a visible one.
Opening the Full Header in Gmail and Outlook
The first hurdle is simple, but it trips up a lot of people. Standard inbox views hide the data you need, so you have to open the full header or message source before any tracing work makes sense. Without that step, you’re only seeing a presentation layer, not the delivery record.
Gmail, Outlook web, and Outlook desktop
In Gmail, the path is explicit. Open the message, click the dropdown next to Reply, and choose Show original to view the raw header data (Google’s Gmail help). That raw view is where the routing and authentication fields live, not in the normal reading pane.
Outlook uses different labels depending on where you’re working. Outlook on the web typically exposes something like View message source, while Outlook desktop usually places the technical data under File, then Properties, and then Internet headers. The wording changes, but the goal stays the same, reveal the raw delivery metadata.
What the raw header looks like
A header is plain text, not a polished report. It can look intimidating because it’s full of timestamps, server names, authentication results, and long technical strings. Don’t worry about every line. Focus on the lines that show Received, the authentication verdicts, and the source details that your analyzer can read more cleanly.
Most people waste time trying to interpret every line by eye. Paste the header into an analyzer and work from the readable output instead.
That’s the workflow. Copy the full header, paste it into an external email header analyzer, and let the tool organize the fields. A good analyzer makes the sender IP, SPF, DKIM, and DMARC results easier to scan, which is exactly what the header analysis guidance recommends (Mailbutler’s tracing guide).
One practical cleanup step
Headers copied from Outlook can carry formatting that some analyzers dislike. If a paste looks broken, strip the formatting before analyzing it. A plain-text paste is often enough to fix line-ending problems and preserve the actual routing lines.
Reading the Received Chain Like a Route Map
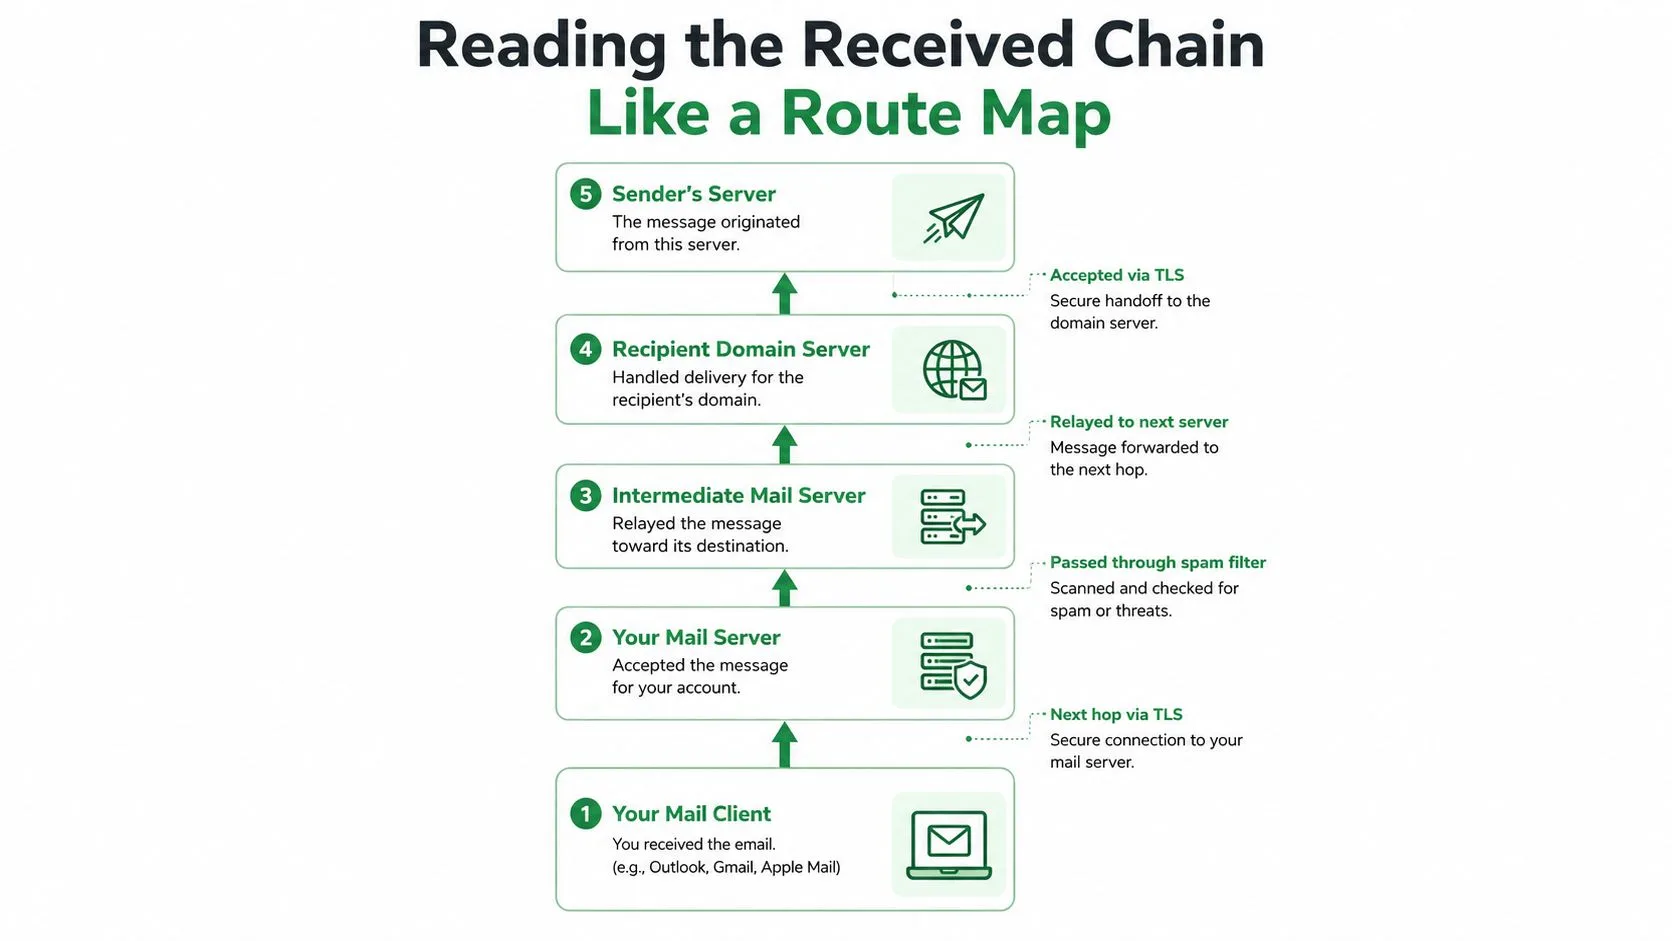
Once the header is open, the most useful part is usually the Received chain. Those lines tell you where the message moved as it crossed mail servers, and they’re the closest thing email has to a route map. The trick is reading them in the right direction.
Read from bottom to top
The path is reversed from the way people expect. You read Received: from lines from bottom to top, because the earliest trustworthy hop is near the bottom of the chain, not the top. That’s the concrete first step recommended in step-by-step tracing guides, which describe the Received: from lines as the chronological path through the mail servers before the message reached the inbox (Tresorit’s email tracing guide).
A useful read looks like this:
- Start at the bottom: find the first hop that enters your provider’s environment.
- Move upward: follow each relay until you reach the sender side.
- Check for oddities: look for an unfamiliar relay, a suspicious delay, or a hop that doesn’t match the rest of the route.
- Cross-check: compare the earliest useful hop with authentication evidence before you trust it.
That sequence matters because the first visible IP is often not a person’s device. It’s usually a corporate mail system, a webmail provider, or a relay that sat in front of the sender. Trying to identify a home address from that line is usually a waste of time.
Use the route, not the rumor
A common mistake is overvaluing a single IP lookup. The route is more useful than a loose geolocation guess, especially when shared infrastructure is involved. If the message came through a big provider or a corporate gateway, the IP points to that system, not to an individual’s physical location.
Video guidance can help when the header looks dense, especially if you’re learning how the hops fit together.
For adjacent infrastructure work, a related look at MX record priority helps explain why mail often takes the path it does. The key point, though, is this, the routing chain is evidence, not a magic locator.
Decoding SPF, DKIM, and DMARC Results
If the Received chain is the route map, SPF, DKIM, and DMARC are the identity checks. Many guides get thin here, even though these signals usually tell you more than a guessed origin IP ever will. A suspicious message can look polished and still fail the checks that prove it was authorized to use the domain.
What each check is doing
SPF asks whether the sending server was allowed to send on behalf of the domain. DKIM checks whether the message was signed in a way that survived transit. DMARC ties those signals together and shows whether the domain’s policy and alignment rules were satisfied.
That’s the plain-English version. The practical takeaway is that these checks help you tell the difference between a legitimate message, a misconfigured one, and a spoofed one. The header can be analyzed with an email header analyzer to make the raw fields readable, and the analysis should include the sender’s IP address plus authentication results such as SPF, DKIM, and DMARC, which indicate whether the message passed or failed identity checks (Mailbutler’s tracing guide).
How to read pass and fail without overreacting
A pass is reassuring, but it isn’t the whole story. A message can pass authentication and still be malicious if the sender account or service was compromised. A fail is more serious, but context still matters, because forwarding, mailing platforms, and certain gateways can alter the path in ways that complicate interpretation.
Authentication is not a substitute for judgment. It tells you whether the message is technically consistent with the claimed domain, not whether the content deserves trust.
That’s why I always read the header in this order:
- First, SPF: was this server allowed to send?
- Then DKIM: did the message keep its cryptographic signature?
- Then DMARC: do the domain and the authenticated identity line up?
- Finally, the route: does the hop sequence make sense with the checks?
A fast triage habit
For a suspicious inbound message, don’t start with the sender’s name or the subject line. Open the header, check the authentication block, and then inspect the route. That sequence is faster than hunting through visible fields and much harder to fool. If you need a deeper alignment reference, this authentication overview fits naturally with the header fields you’re already reading.
Tracking Outgoing Emails With Real-Time Analytics
Tracing also matters on the sender side. Once a message leaves your account, email analytics shows what happened after delivery, and that is a different task from header analysis. The question shifts from whether a message was spoofed to whether recipients opened it, clicked it, or replied.
What outbound tracing really measures
Outbound analytics usually tracks opens, clicks, replies, and conversions, because that is how campaign performance gets measured in practice. ZoomInfo describes email analytics as the measurement and interpretation of campaign data, which fits this use case well, since the goal is to understand what the recipient did after the send, not just confirm that a message left the system (ZoomInfo’s email analytics guidance).
Those signals usually come from a hidden tracking pixel for opens and redirect-wrapped links for clicks. The analytics layer turns those events into per-message status, so outbound tracing belongs in the same conversation as email forensics even though the mechanics are different.
How Mail Merge for Gmail fits into that workflow
One concrete example is Mail Merge for Gmail, which can send up to 1,500 recipients per day while writing status updates like Sent, Opened, Clicked, and Replied back to a spreadsheet (Mail Merge for Gmail’s outgoing mail server guidance). That turns tracking into a row-by-row operational record instead of a vague campaign summary, and it is useful when you need to compare one recipient’s response against another’s.
A typical flow looks like this:
- Import recipients from Google Sheets.
- Build or choose a template for the campaign.
- Send and monitor status changes as the campaign runs.
- Review the sheet for engagement patterns and follow-up timing.
The value is not just knowing who opened. It is having a practical log of engagement that can shape the next message. If a recipient never opens, delivery may be the problem. If they open but do not click, the content may need work. If they reply, the signal is strong enough to route a human follow-up.
What outbound tracing won’t tell you
It will not tell you everything about intent. A pixel can be blocked, link tracking can be stripped, and open data can be incomplete. That is why outbound tracing should be treated as useful telemetry, not absolute truth. For sender-side diagnostics, Mail Merge for Gmail’s outgoing mail server guidance fits this kind of tracking because delivery still depends on how the message moves after you send it.
Troubleshooting Two Common Tracing Scenarios
The cleanest way to trace an email is to start with a real failure, then read the header like evidence. Phishing is one case. A legitimate message that gets buried in spam is the other. The same hidden fields matter in both, but the conclusion is different.
A bank lookalike that fails the checks
A message claims to be from a bank and pressures the reader to act fast. The visible sender line may look close enough to pass at a glance, but the inbox view is not the place to stop. Open the full header, inspect the Received chain, then check SPF, DKIM, and DMARC.
If the route does not line up and the authentication block fails, the message has no business being trusted. The branding can look convincing while the header tells a different story. In practice, that is the point where you treat it as spoofed and move to containment or reporting, depending on your environment.
A real campaign that got treated like junk
A legitimate cold outreach campaign can still land in spam even when nothing looks overtly malicious. Tracing works the other way in that case. You are not proving fraud, you are looking for delivery friction, weak authentication alignment, or a list that is drawing poor engagement.
The useful signals are the same ones discussed above, but the read changes. If authentication is weak or inconsistent, fix that first. If the header and route look clean but engagement is poor, list quality and reply behavior matter more than the message body itself. That kind of tracing saves time because you stop arguing with the inbox and start reading the evidence.
The fastest way to avoid dead ends
Standard inbox views hide the routing data needed for tracing, so you need the provider-specific source view, such as View Source, Show Original, or Message Source. If that still does not answer the question, open the full headers to find the message’s actual path and compare it with the mailbox that appears in the sender line (AEA Net’s tracing guidance).
If the header is not open, you are still guessing.
That matters even more when a sender uses shared infrastructure or a forwarding service. The visible mailbox may be innocent, but the route and authentication lines will show whether the mail behaved like a message from that mailbox should.
Privacy, Legal Lines, and Smart Next Steps
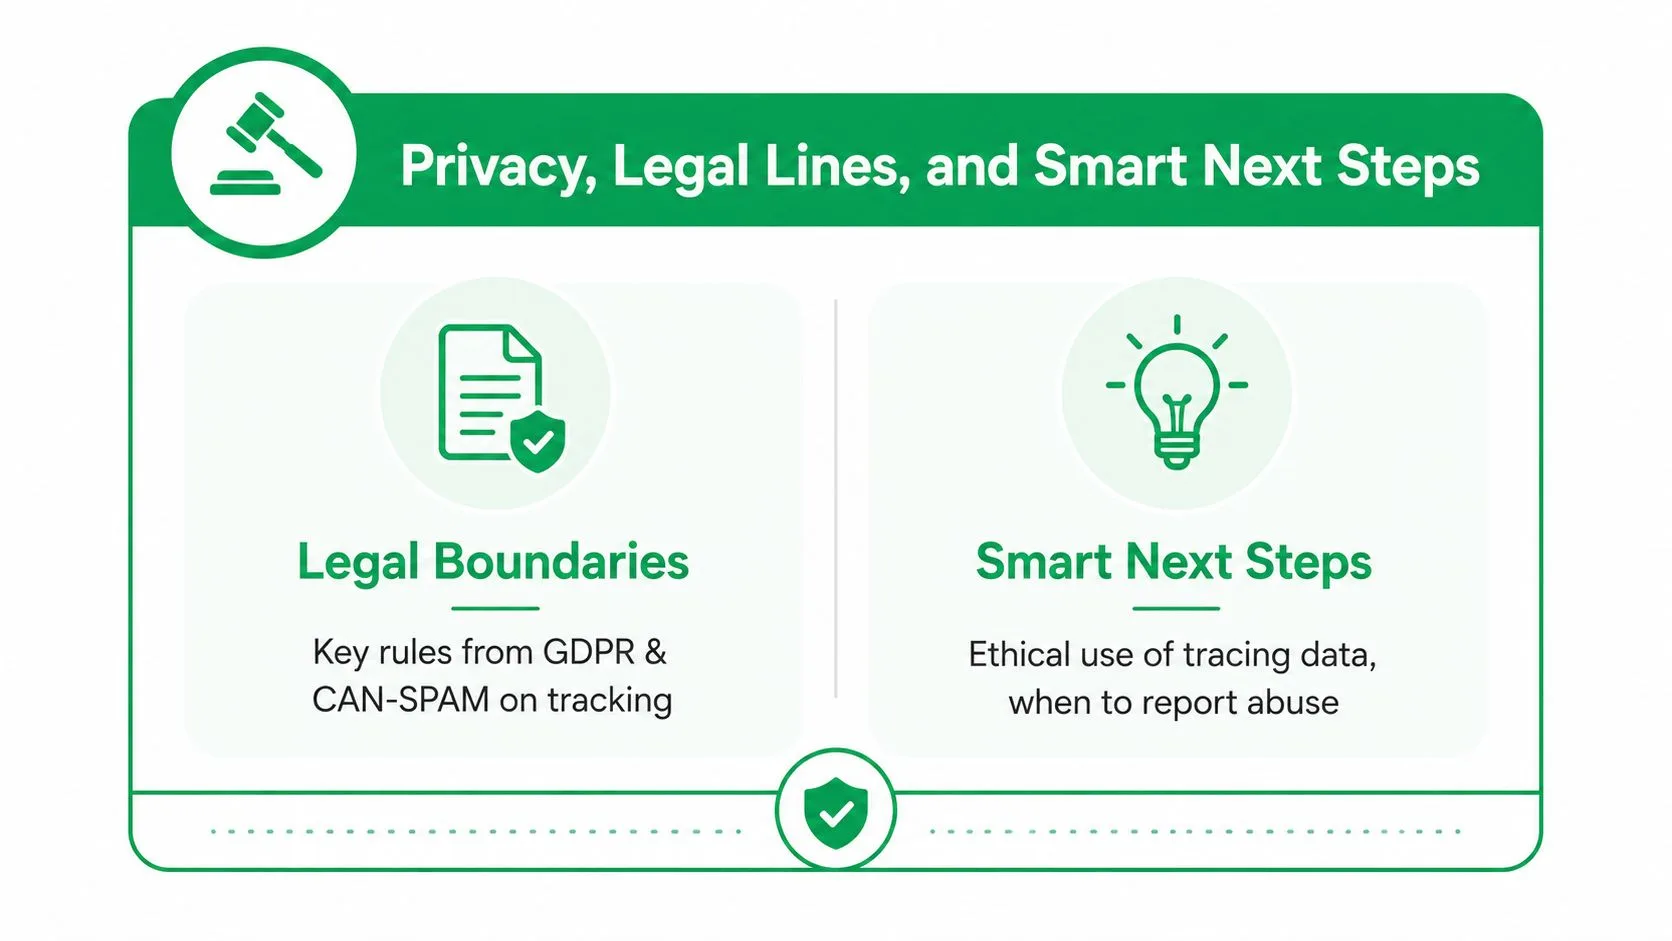
Email tracing has real limits, and some of them are legal, not technical. Open and click tracking can be useful for deliverability and campaign operations, but it also touches privacy law, consent, and transparency. If you’re tracking outbound mail, you need to know what your recipients were told, what they agreed to, and what your jurisdiction allows.
Where the line actually is
The practical line is simple. Diagnostics for legitimate mail operations are one thing. Covert surveillance is another. Tracking pixels and click tracking may be acceptable in some contexts and restricted in others, especially where consent and notice rules apply. The legal details vary by regime, so you shouldn’t assume that because a tool can track a recipient, you’re free to use that data any way you want.
For people who manage mail across borders, privacy expectations can be especially tricky. A useful companion read is Essential privacy advice for expats, which is a good reminder that data visibility and local rules don’t always line up the same way in every country.
What to do next
If you’re diagnosing suspicious inbound mail, use trace-style checks only when the message looks questionable. If you’re sending from your own domain, set up SPF, DKIM, and DMARC and verify that your outbound mail is passing those checks. If you need tracking for campaigns, choose tooling that respects privacy and makes the status data useful rather than invasive.
A simple rule holds up well in practice.
Trace suspicious mail when you need proof. Track your own campaigns when you need feedback. Don’t confuse the two.
The limit of email tracing is that it can show route, legitimacy, and engagement, but not truth in the human sense. It won’t tell you everything about intent, and it won’t always identify a person. It will, however, tell you a lot about whether a message belongs where it landed.
If you want a practical way to send trackable mail from Gmail while keeping the workflow inside Google Sheets, Mail Merge for Gmail supports per-row status updates like Sent, Opened, Clicked, and Replied. It’s useful when you need outbound tracing that’s tied to real campaign data, not just guesswork.
Ready to send your first campaign?
Install Mail Merge for Gmail from the Google Workspace Marketplace and send up to 50 personalized emails per day for free.
Get started for freeMore reading
More from Tutorials
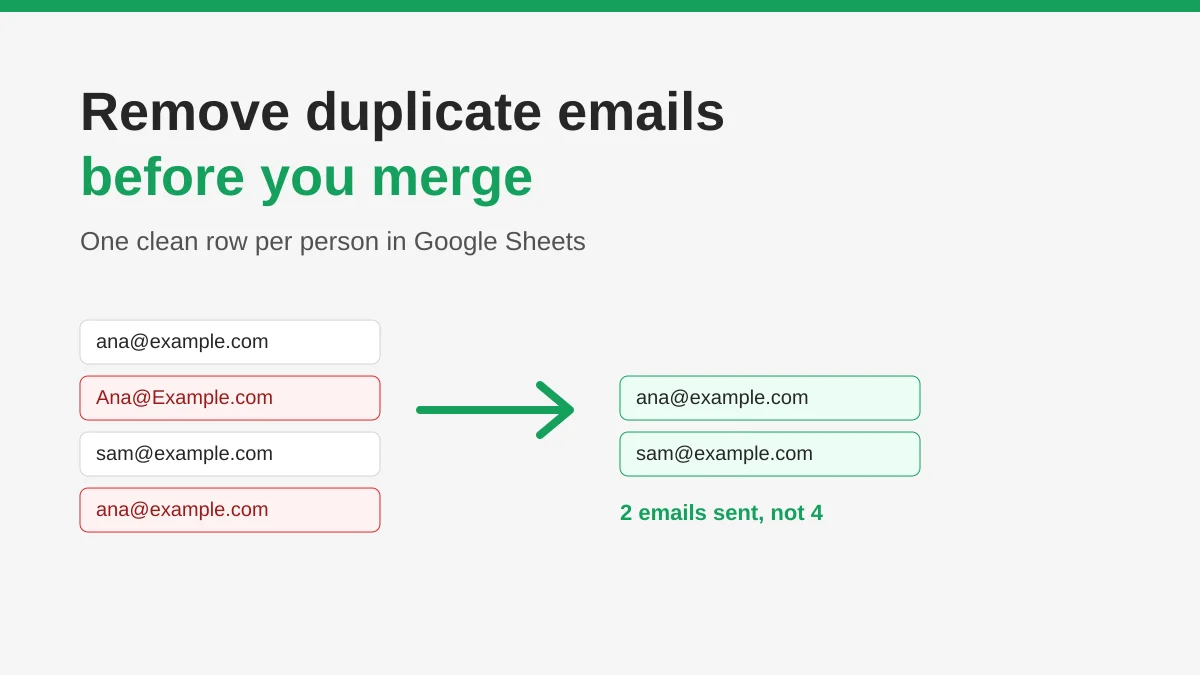
How to Remove Duplicate Emails in Google Sheets Before a Mail Merge
Learn how to remove duplicate emails in Google Sheets before a mail merge with Remove duplicates, UNIQUE and COUNTIF, so no contact gets the same message twice.

How to Build Targeted Email Lists That Actually Convert
Learn how to build targeted email lists that drive opens, clicks, and replies. Practical steps for sourcing, segmenting, cleaning, and GDPR-compliant outreach.

Send Bulk Emails from Gmail: A Complete Step-by-Step Guide
Learn how to send bulk emails from Gmail with Mail Merge for Gmail. Step-by-step guide to personalized outreach, tracking, and deliverability best practices.