


















DKIM for Gmail: A Complete Setup Guide for 2026
Learn how to set up DKIM for Gmail with our step-by-step guide. Generate keys, add DNS records, and verify your setup to improve email deliverability.
You’ve probably seen it happen. A customer inquiry, a quote follow-up, or a campaign you spent time building lands in spam, and the only clue is that the sender line looks fine while Gmail still treats the message like it’s suspicious. That’s exactly where DKIM for Gmail matters, because it gives Gmail a cryptographic signal that your mail really came from your domain and hasn’t been altered on the way in.
Gmail does not treat authentication as a nice extra anymore. Google’s own data shows that 76.9% of the emails Gmail receives are signed with DKIM, and Google requires bulk senders to use SPF, DKIM, and DMARC (Google’s Gmail authentication guidance). If you send newsletters, sales emails, support updates, or mail-merge campaigns, that makes DKIM part of the basic setup, not a later optimization. For a broader primer on the authentication stack, see email authentication basics.
Why Your Gmail Messages Need DKIM Authentication
When a customer says they never saw your quote, follow-up, or campaign email, the problem often starts with trust. Gmail has to decide whether the message looks like it genuinely came from your domain, and that decision affects whether it reaches the inbox, the promotions tab, or spam.
DKIM, DomainKeys Identified Mail, gives Gmail that proof. It signs outgoing mail with a domain-specific key, and Gmail checks that signature when the message arrives. If the signature matches, the message has a stronger case for being treated as legitimate business mail, and it is less likely to be challenged during filtering.
Signed mail also helps protect your domain from spoofing. Without DKIM, someone can send a message that appears to come from your business, and inbox providers have fewer signals to separate your mail from a fake copy. That is a direct risk for small businesses that rely on Gmail for customer replies, invoices, and mail merge campaigns.
A signed domain also gives you a cleaner reputation signal. Gmail looks at authentication as part of the wider trust picture, so a properly signed message supports your sender reputation instead of forcing Gmail to guess whether the mail is safe. For the bigger picture on how the pieces fit together, see this authentication overview.
A lot of small businesses try to fix deliverability by changing subject lines, spacing out sends, or rewriting the body copy. Those adjustments can help engagement, but they do not replace authentication. If the message itself is not signed correctly, Gmail still has a reason to treat it with caution.
Generate Your DKIM Key in Google Workspace
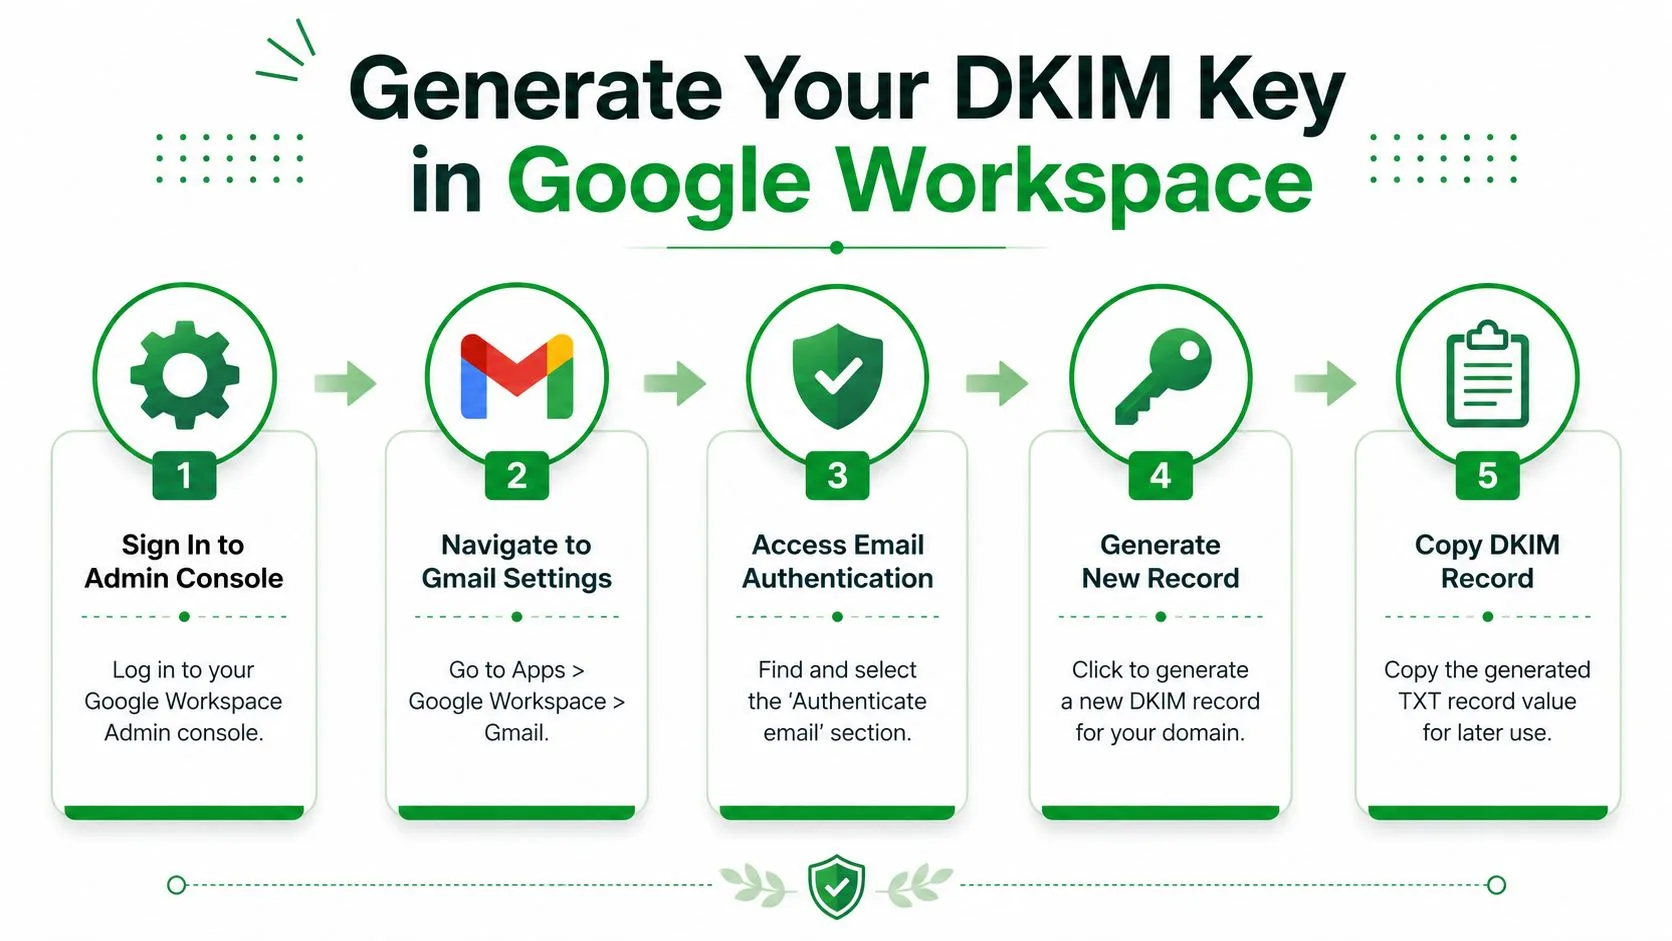
Start in the Google Workspace Admin console, then move into the Gmail authentication area for the domain you want to sign. Google’s setup flow is designed around one simple idea, generate a new record, publish it in DNS, then return to Admin Console and click Start Authentication (Google Workspace DKIM setup sequence).
Find the authentication screen
The path usually sits under Apps, then Google Workspace, then Gmail, then Authenticate email. That’s where Google creates the DKIM material tied to your domain. If you manage more than one domain, be careful to choose the domain responsible for sending mail, rather than just the one that owns your website.
The selector prefix is part of the record name Google gives you. Think of it as a label that helps Gmail know which DKIM key to look for later. Google’s docs also show that 2048-bit keys are the preferred option when your environment supports them, which reflects a shift toward stronger cryptographic authentication instead of the bare minimum.
Operational note: generate the key in Google first, then copy the exact host name and TXT value it gives you. Guessing the record name is one of the fastest ways to break setup.
Copy the record details carefully
Google will show a DNS host name and a TXT record value. Those two pieces matter more than the screen flow itself. The host name is what DNS uses to publish the key, and the TXT value is the public half of the signature record.
If you use a mail tool or a Gmail-connected outreach workflow, this is also the point where you should make sure you’re setting up the right sending domain. For businesses using one domain in Gmail and another in a sending platform, the wrong domain choice is a common source of confusion. If you also need the SPF side of the picture, this Gmail SPF guide pairs well with the DKIM setup.
Keep the record text exactly as Google provides it. Even a small typo in the host label or pasted value can keep the domain from authenticating later, and you won’t know that by looking at the Gmail compose screen alone.
Publish the DKIM Record to Your Domain’s DNS
Your DNS provider is where the DKIM key becomes active for the outside world. Google can generate the record, but Gmail will not trust the signature until that public key exists in the DNS zone for the domain you send from.
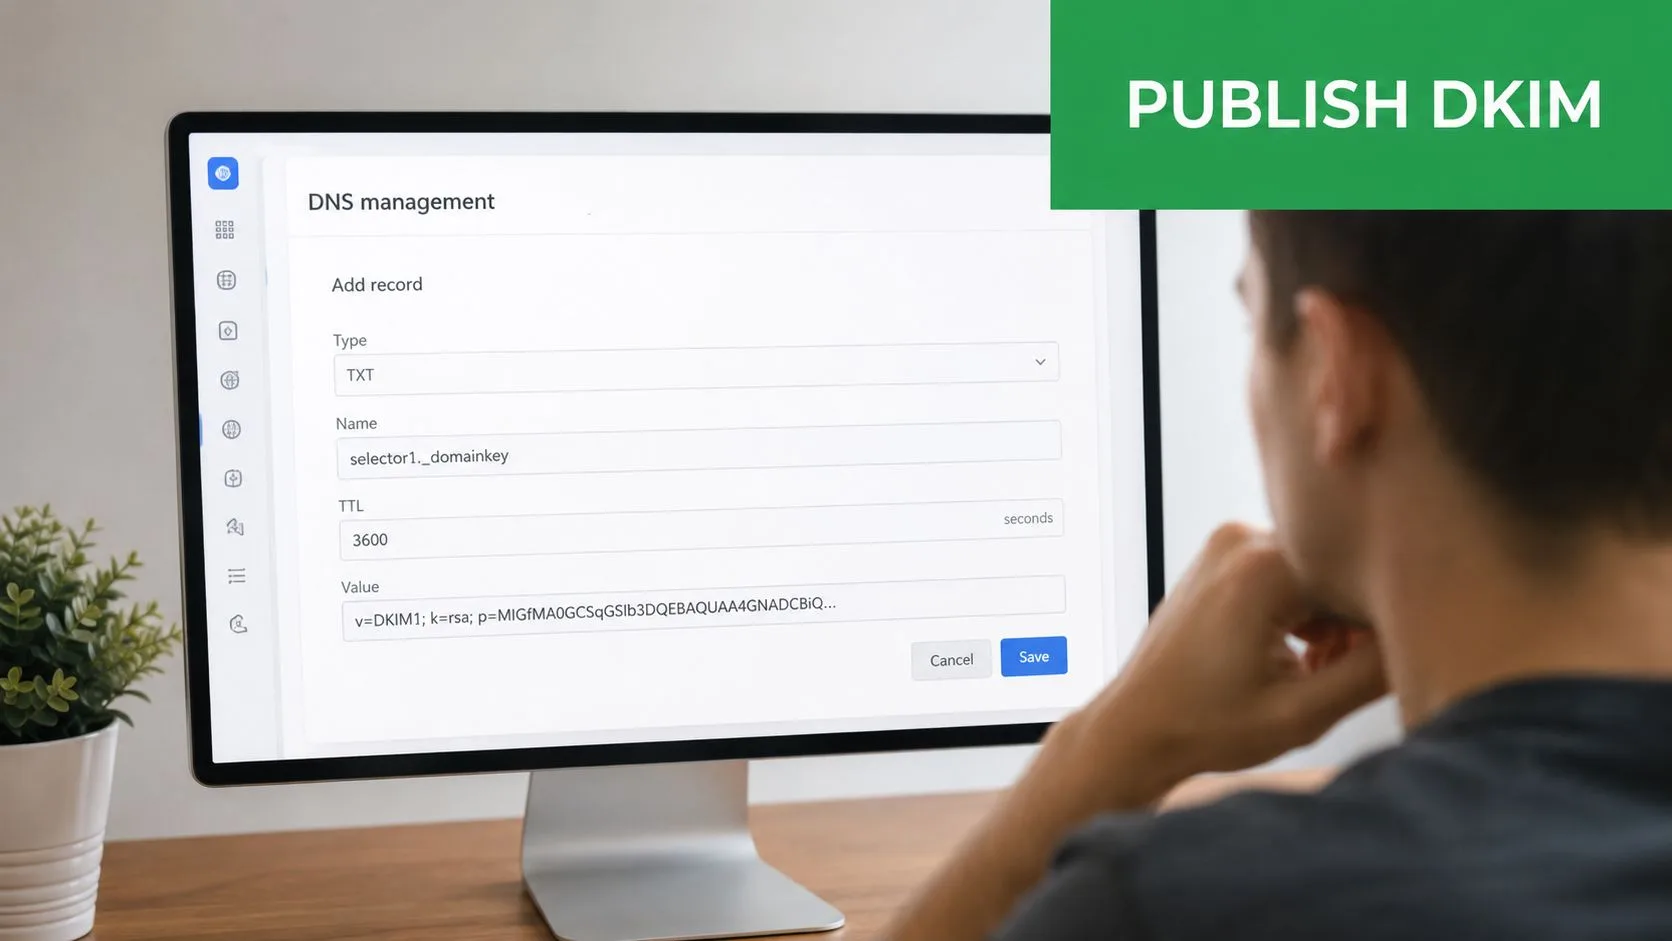
Open the DNS management area for the domain and add a TXT record with the exact host name and TXT value Google gives you. That record is what lets Gmail check outgoing mail later. If your provider uses a simplified interface, look for DNS records, domain records, or advanced DNS settings.
Accuracy matters more than speed here. Copy the text exactly as shown, because this is not the place to shorten, reformat, or “clean up” the value. A missing character or an extra space can break authentication even though the record looks close enough at a glance.
Sample shape, not a copy to paste blindly:
Host name, the DKIM selector Google generated.
Type, TXT.
Value, the full DKIM string Google gave you.
For mail merge tools and Gmail-connected outreach workflows, the domain choice needs to match the mailbox that sends the messages. If your sending platform uses a different domain from the one in Google Workspace, a record on the wrong zone will do nothing for deliverability. If you also need the SPF side to line up, this SPF setup resource for Gmail is a useful companion while you finish the authentication records.
After you publish the record, leave time for DNS to update before you test. Some providers show the change quickly, while others take longer to appear everywhere on the internet. DNS propagation timing guidance explains why admins often wait before they try to turn on signing in Google Admin, since the DNS side is usually the slowest part of the setup (DNS propagation timing guidance).
If you manage SPF already, keep the full record set consistent across the domain. DKIM, SPF, and the sending domain need to point in the same direction, especially if you send from Gmail and a separate outreach platform. A record published on the wrong domain will not help Gmail trust the mail that leaves your system.
Once the record is in place, return to Google Admin and prepare to activate signing. If the DNS entry is malformed, Google will not be able to verify the key, and the problem will look like a Gmail issue even though it started in DNS.
Verify and Test Your DKIM Setup
After the DNS record is live, return to Google Admin and click Start Authentication. That switch does not create DKIM on its own, it tells Google to begin signing mail after it can see the public key in DNS. The setup is considered complete only when Google shows the domain as fully authenticated in Admin Console.
The cleanest check is still a real message sent to an external mailbox. Gmail’s own guidance says to inspect the headers and look for an Authentication-Results line that explicitly shows dkim=pass header.i=@yourdomain.com (Google Workspace DKIM verification guidance). That tells you the signature survived transit and matched the domain it was supposed to represent.
What a successful result looks like
A passing test usually shows the DKIM result in the raw headers, not in the regular message view. You may also see related fields that confirm the signing identity, but the key line is the one that says DKIM passed for your domain. If that line is missing, treat the message as unverified until you know why.
A third-party checker can help, but it should confirm what the header already tells you. Use it as a quick sanity check, not as the only source of truth. The strongest proof is still an actual external message with valid Gmail-recognized headers.
If the header says dkim=pass, the signature is working. If it doesn’t, the issue is usually record placement, propagation, or a mismatch between the selector and the live DNS entry.
A lot of admins stop too early and rely on the Admin Console status alone. That’s useful, but it doesn’t replace reading the message header from the receiving side. The mailbox is where Gmail makes its decision, so that’s where you want to confirm the result.
Troubleshooting Common DKIM Errors
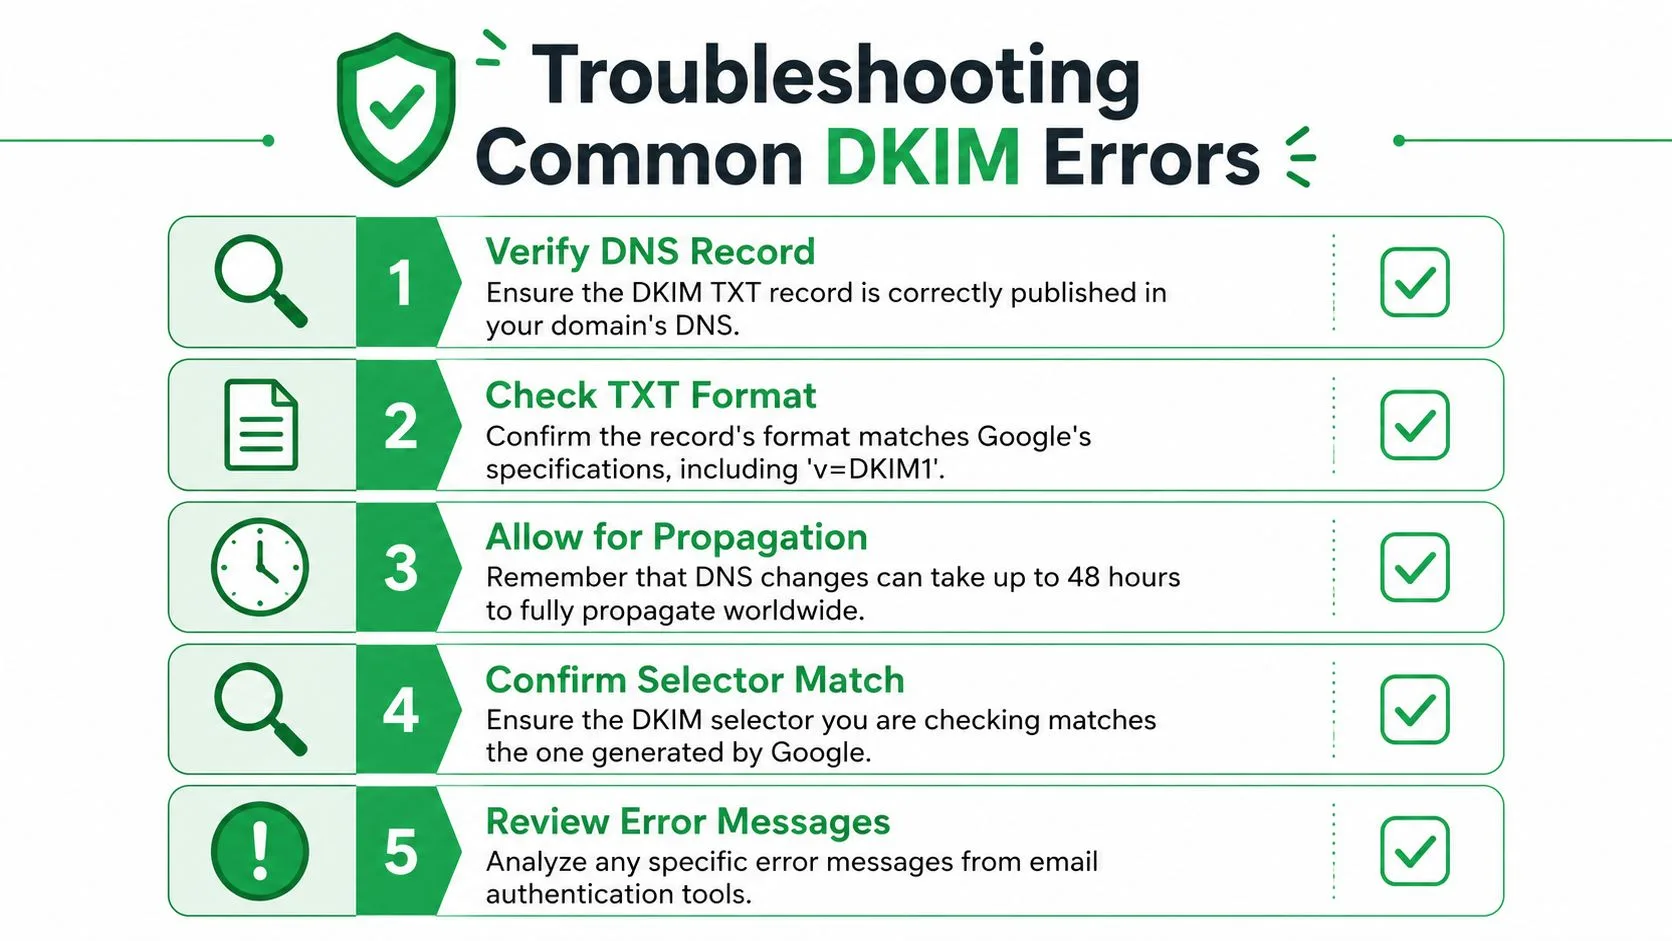
Most DKIM problems fall into a small set of predictable buckets. Each one leaves a different trail, so you can usually narrow it down without guessing, even if you are sending from a mail merge tool and checking why one campaign lands differently from the next.
When Google says authentication isn’t verified
If Google still shows the domain as not verified, start with propagation. DNS updates do not always appear everywhere at once, so a fresh DKIM record can look correct in your control panel while Gmail still sees the older state. Some setup guides advise waiting before clicking Start authentication in Google Admin, which is often the safest move if the change was just published.
If the status still does not change after that wait, inspect the TXT record in your DNS dashboard line by line. A missing character, a wrong host name, or a record added under the wrong label can block verification even when the interface looks fine.
When the header check fails
A failed header usually means the message was sent, but the signature did not match what Gmail expected. That often happens when the selector in the email does not match the selector you published, or when more than one DKIM record exists and the sending system picks the wrong one.
For senders using mail merge or outreach tools, this often shows up as a message that was signed somewhere in the path but still does not hold up in the recipient mailbox. If you are also dealing with placement issues, review practical ways to prevent Gmail spam issues. DKIM helps with authentication, but it does not fix every filtering problem on its own.
When the DNS record looks right but still fails
Sometimes the record is there and still wrong. The TXT value needs to match Google’s generated text exactly, including the DKIM version tag and the key material. If your DNS provider wraps the value in a way that changes the string, re-enter it so the full record stays intact.
If the provider does not handle the key format you chose, a different DNS setup may be easier to work with. In practice, copy and paste mistakes cause more failures than provider limits, so start by checking the record against what Google generated.
Troubleshooting order: verify the record exists, confirm the selector matches, wait for propagation, then re-test the header.
That sequence keeps you from changing too many variables at once. If you edit the record, the selector, and the sending tool all at the same time, you will not know which change fixed the issue.
If your team also wants to keep outgoing mail out of spam, these practical ways to prevent Gmail spam issues give you a useful next check after DKIM is in place.
Advanced Tips for Mail Merge and Maintenance
A DKIM pass doesn’t automatically mean every message will behave the same way. Google’s guidance points toward DMARC alignment, where the DKIM signing domain, the d= value, matches the visible From domain. If those don’t line up, a message can still look authenticated in one sense while failing the alignment check that matters for delivery and trust (Google Workspace DKIM guidance).
That matters a lot for mail merge workflows, CRM sends, and support tools. A campaign can be signed correctly by the sending service but still look mismatched from the recipient’s point of view if the visible sender and the authenticated domain drift apart. For teams evaluating broader outreach tooling, resources for small business digital marketing can help frame authentication as part of the full stack, not a standalone fix.
If you use a product like Mail Merge for Gmail, the key question is whether the messages go out from the domain you’ve already authenticated and whether the visible From address matches that domain. That’s the practical line between a technically signed message and one that’s set up for cleaner alignment across Gmail and other inboxes.
Keep maintenance simple
Treat DKIM like an ongoing asset, not a one-time task. Check that the selector still matches the live record after any DNS change, domain migration, or platform switch. If you ever rotate keys, update the DNS entry first, then confirm the new signature before retiring the old one.
Also keep an eye on the other authentication layers. SPF and DMARC are not substitutes for DKIM, but they make the overall setup much more resilient. In a small business environment, that combination is usually easier to keep healthy than trying to diagnose inbox problems later.
If you manage several senders, make a short inventory of every system that sends mail on behalf of your company. Newsletter tools, help desks, invoicing platforms, and manual Gmail sends can all behave differently. The people who avoid the worst deliverability issues are the ones who know exactly which system signs which message.
If you’re setting this up for customer updates, outreach, or mail-merge campaigns, finish the job by checking both the Gmail header and the visible From domain, then keep SPF and DMARC in sync with the same sending identity. If you want a Gmail-based sending workflow that stays close to the inbox while you manage personalization from Sheets, take a look at Mail Merge for Gmail.
Ready to send your first campaign?
Install Mail Merge for Gmail from the Google Workspace Marketplace and send up to 50 personalized emails per day for free.
Get started for freeMore reading
More from Guides
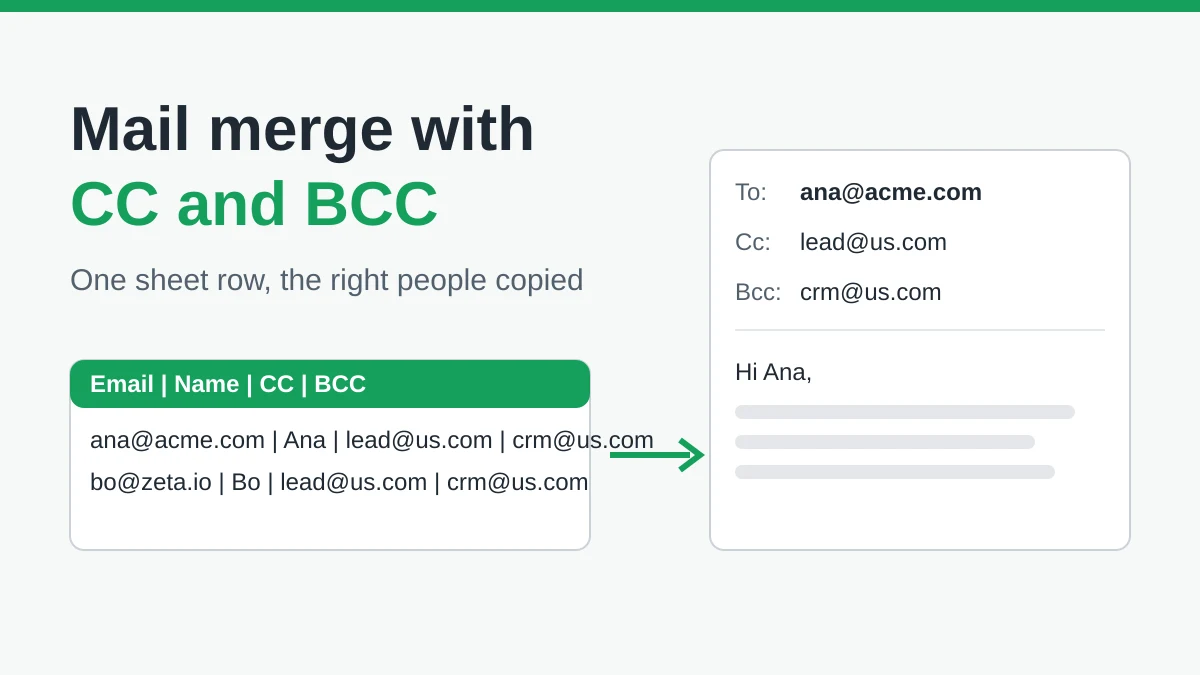
Mail Merge with CC and BCC in Gmail: Copy the Right People on Every Email
Learn how to run a mail merge with CC and BCC from Google Sheets, set up the columns, preview the result and see how copied recipients count toward your daily quota.
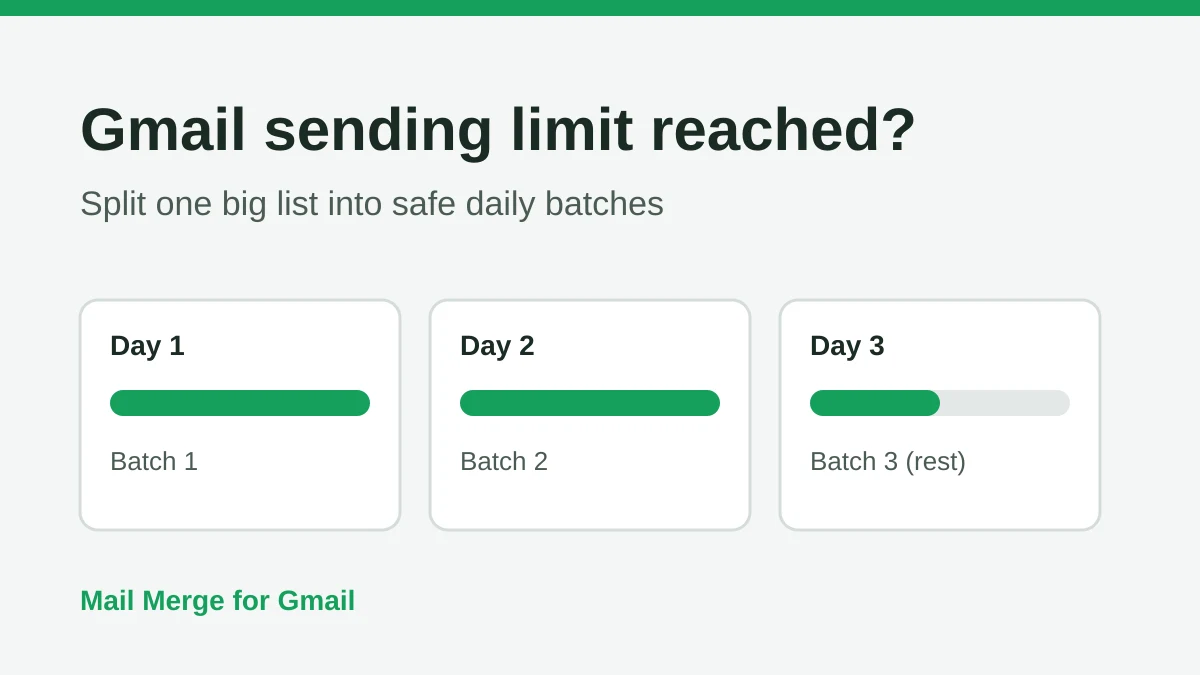
Gmail Sending Limit Reached: What It Means and How to Finish Your Campaign
Hit the Gmail sending limit reached error? Learn the real daily limits, when you can send again, and how to split a mail merge into safe daily batches.
Personalized Email Gmail: The Complete Guide
Master your personalized email Gmail workflow. Learn to merge Sheets data, track opens, and scale one-to-one outreach without leaving your inbox.