


















How to Change the Email Address in Outlook Quickly
Learn how to change the email address in Outlook on desktop, Outlook.com and Microsoft 365, including aliases, primary address and admin steps.
You’ve changed your name, started using a new provider, or received a new work address, and now Outlook still shows the old one. You open the app, look through account settings, and expect to find a simple rename button. That button isn’t there because “change the email address” can mean several different things in Microsoft’s Outlook ecosystem.
You might need to add a separate mailbox to Outlook for Windows, promote a new alias for an Outlook.com account, or ask a Microsoft 365 administrator to change your work username. Choosing the wrong path can leave the old address visible, create sign-in confusion, or remove an account from the wrong device. The steps below help you identify the correct change before you touch any settings.
What Changing Your Outlook Email Address Really Means
Suppose your old address includes a former surname. You want to keep the same inbox, calendar, OneDrive files, and Microsoft account while presenting a new address to other people. That is an alias change, not a new Outlook desktop account. Microsoft explains that account holders manage addresses by adding or removing aliases and choosing which one is primary, rather than editing the existing address directly (Microsoft’s Microsoft account address guidance).
A different situation involves changing providers. The new address has its own inbox, password, and account records, so Outlook for Windows must add it as a separate account. You can later remove the old account from Outlook if you no longer need it there. Removing it from the app does not delete the mailbox, which remains managed by the email provider.
Work and school accounts follow a third path. If your employer changes its naming convention, the address may need to change throughout Microsoft 365. Outlook alone cannot usually make that update. A Microsoft 365 administrator changes the user name or email details in the Admin Center, according to the organization’s permissions and account configuration.
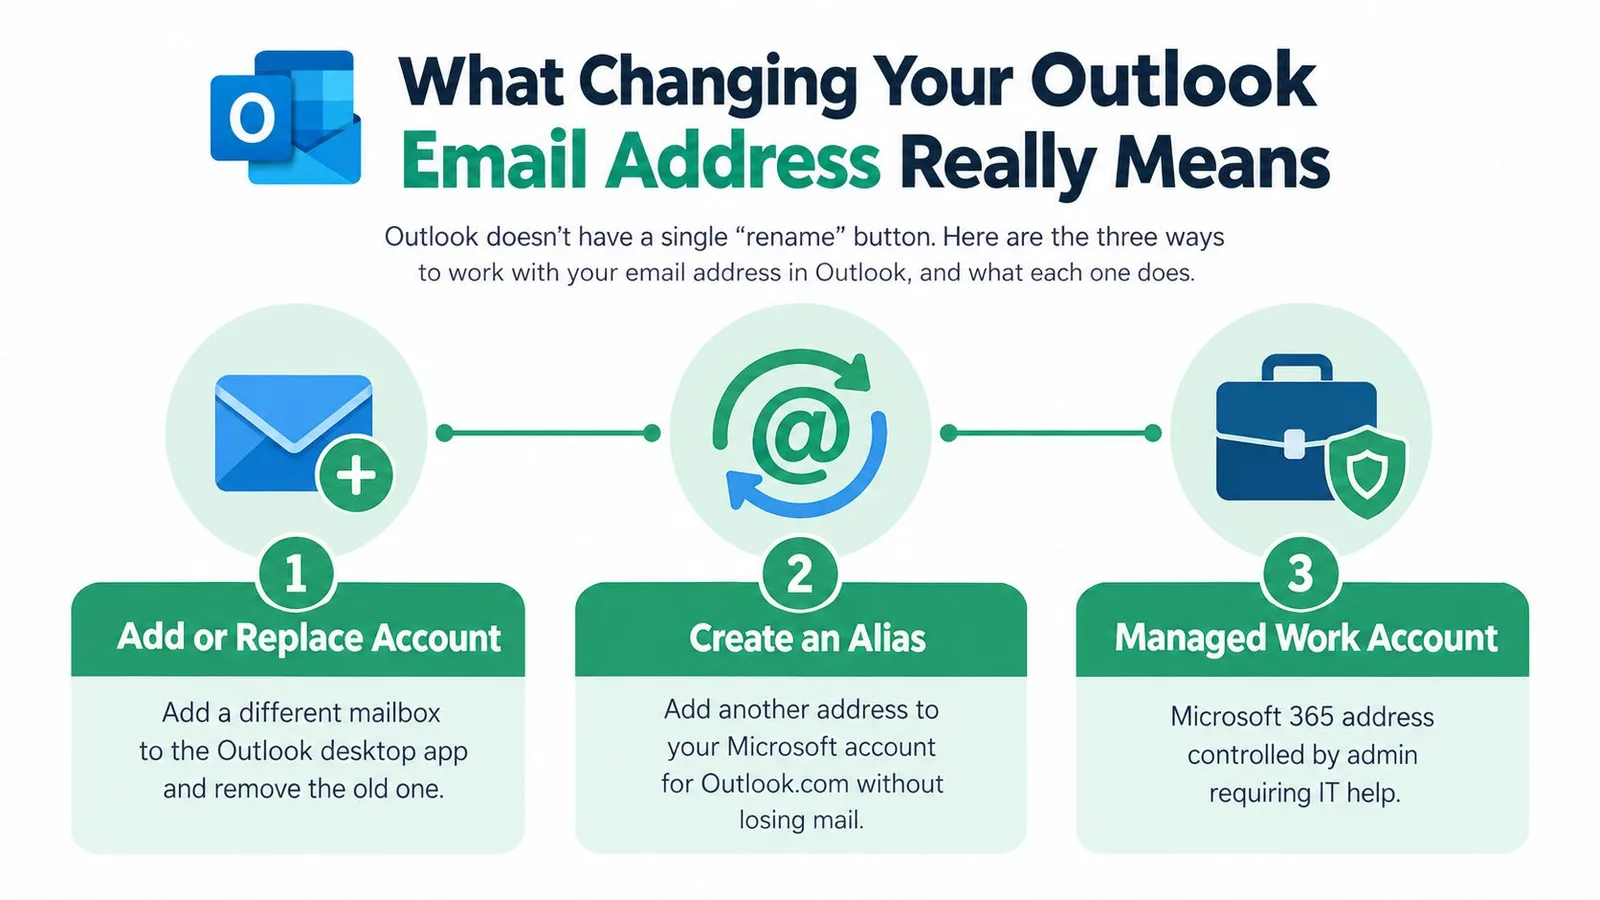
The three meanings of “change”
- Display name: Recipients see a different name, while your actual email address remains unchanged.
- Alias promotion: You add another address to the same Microsoft account and make it primary. The mailbox, files, and account history stay connected.
- Account replacement: You add a separate mailbox to Outlook desktop, then choose whether the previous account should remain in the app.
These distinctions prevent the wrong kind of change. The next step is to match your address and account ownership to the method that fits.
Choose the Right Method for Your Outlook Setup
Start with the service that owns the address, not the Outlook screen you happen to be viewing. Outlook is a client and service family, so the correct controls depend on whether the address belongs to a personal Microsoft account, a separate provider, or a managed Microsoft 365 organization.
| Account Type | Correct Action | Where to Change | Permission Needed |
|---|---|---|---|
| Outlook for Windows with a separate mailbox | Add the new account, then remove the old account if appropriate | View > View settings > Accounts > Email accounts | Access to the mailbox credentials |
| Outlook.com personal account | Add an alias and choose Make primary | Microsoft account alias management | Access to the Microsoft account |
| Microsoft 365 work or school account | Request a username or email change | Microsoft 365 Admin Center, Users > Active users | Administrator permissions |
| Same account, different sender identity | Change the default sending account or default From address | Outlook desktop Account Settings or Outlook on the web Mail settings | Access to the account, or admin support in managed environments |
A fast decision path
Choose add or replace an account when the new address has a separate inbox, password, or provider. Outlook’s account-management controls are designed to store and synchronize that mailbox, not rename its identity (Microsoft’s Outlook account setup guidance).
Choose an alias when you use Outlook.com and want another address connected to the existing Microsoft account. The new alias can become the address people see while the same account remains in use.
Choose administrator help when the address is issued by an employer, school, or another Microsoft 365 organization. The organization controls the account, so an Outlook setting may not give you authority to rewrite the username.
Don’t begin by removing the old account because it appears in Outlook. First decide whether the old address is a separate mailbox, an alias, or a managed identity. That single check prevents most failed attempts.
How to Add or Replace an Email Account in Outlook Desktop
You have a new work mailbox, but the old address still appears in Outlook. The right fix is usually to add the new account first, test it, then remove the old connection. Outlook desktop stores mailbox connections, so changing an account setting does not rename the email address itself.
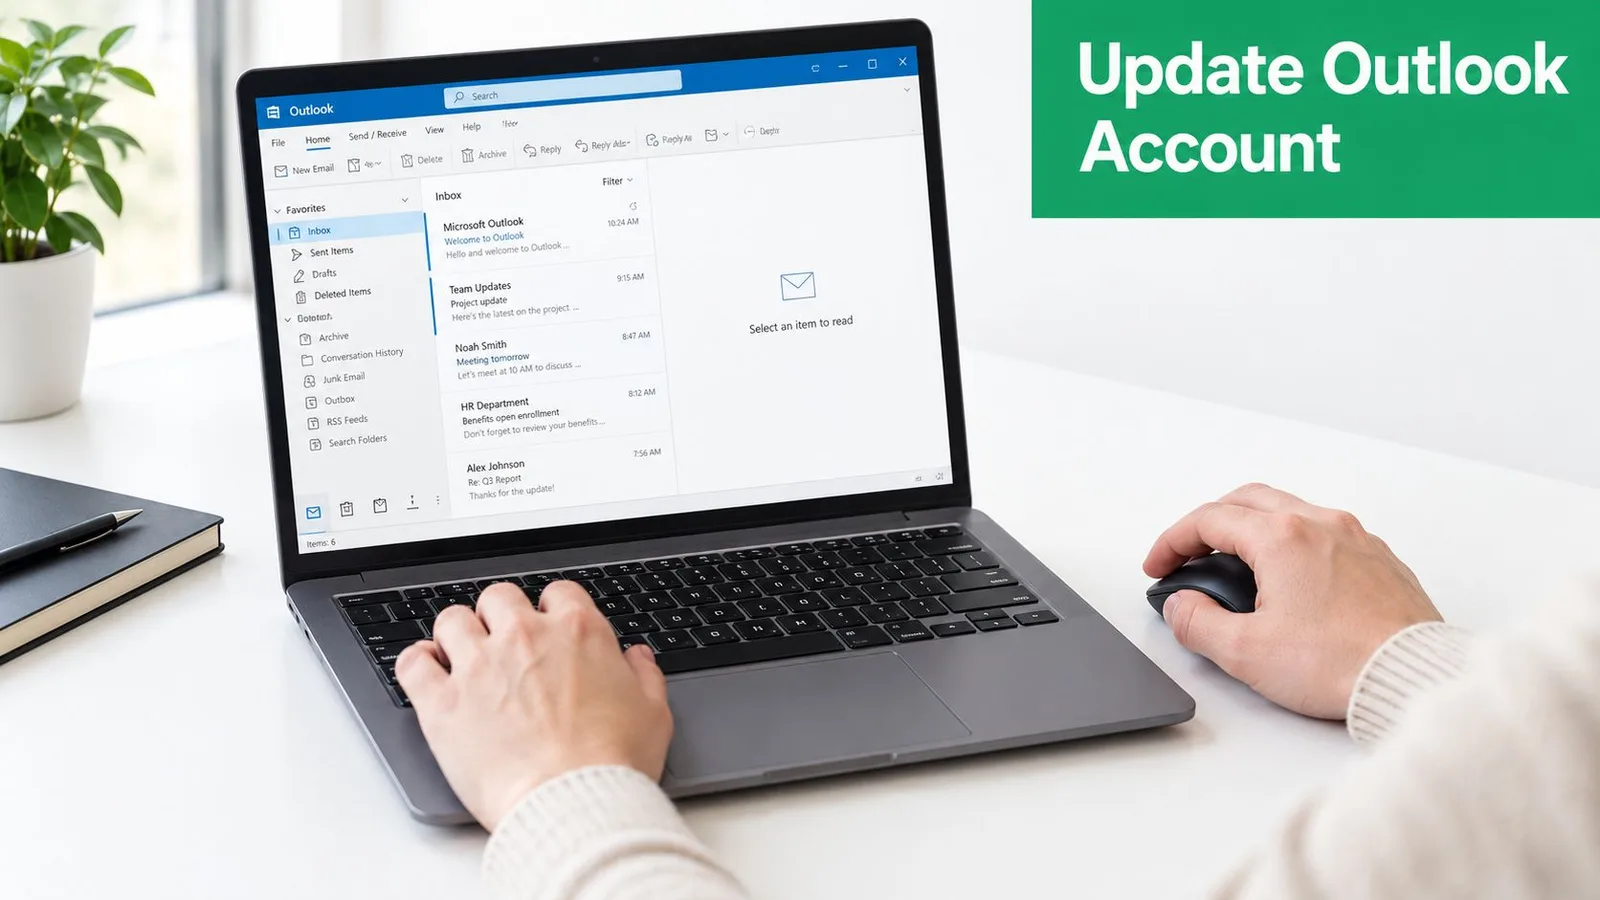
Add the new mailbox
In the newer Outlook for Windows interface:
- Open Outlook.
- Select View.
- Choose View settings.
- Open Accounts, then Email accounts.
- Select Add Account.
- Enter the new email address and follow the provider’s sign-in prompts.
- Wait while Outlook synchronizes the folders and messages.
The screens can differ by provider. If Outlook requests credentials again, use the password or sign-in method required for that mailbox. A mailbox that will not connect has a setup or authentication problem, not an address-renaming problem. Use this Outlook email setup guide if you need help checking the connection details.
Allow synchronization to finish before changing anything else. Open the new Inbox, confirm that recent messages appear, and send a test message if your provider permits it.
Classic Outlook uses a different route for related account controls. Select File > Account Information, choose the account, and open Account Settings. These controls manage credentials, server details, and synchronization. They do not rewrite the mailbox address. For background on how mail is received, see this guide to incoming email servers.
Remove the old account only when ready
Once the new mailbox works, return to View > View settings > Accounts > Email accounts. Select Manage beside the old account, then choose Remove. Outlook may ask whether to remove the connection from only this device or all devices. Read that choice before confirming.
Practical rule: Add and test the replacement account before removing the old one. Removing an account from Outlook removes its stored connection from the app, but it does not necessarily delete the provider’s mailbox.
Set the correct sending account
Adding a mailbox does not automatically make it the sender for every new message. In classic Outlook, select File > Account Settings > Account Settings, choose the account on the Email tab, and select Set as Default.
Open a new message and check the From field. Choose the new account from the account selector if the old one appears. An old address in autocomplete may be a remembered sender or recipient entry, so confirm the selected account before editing saved suggestions.
How to Change Your Address in Outlook.com With Aliases
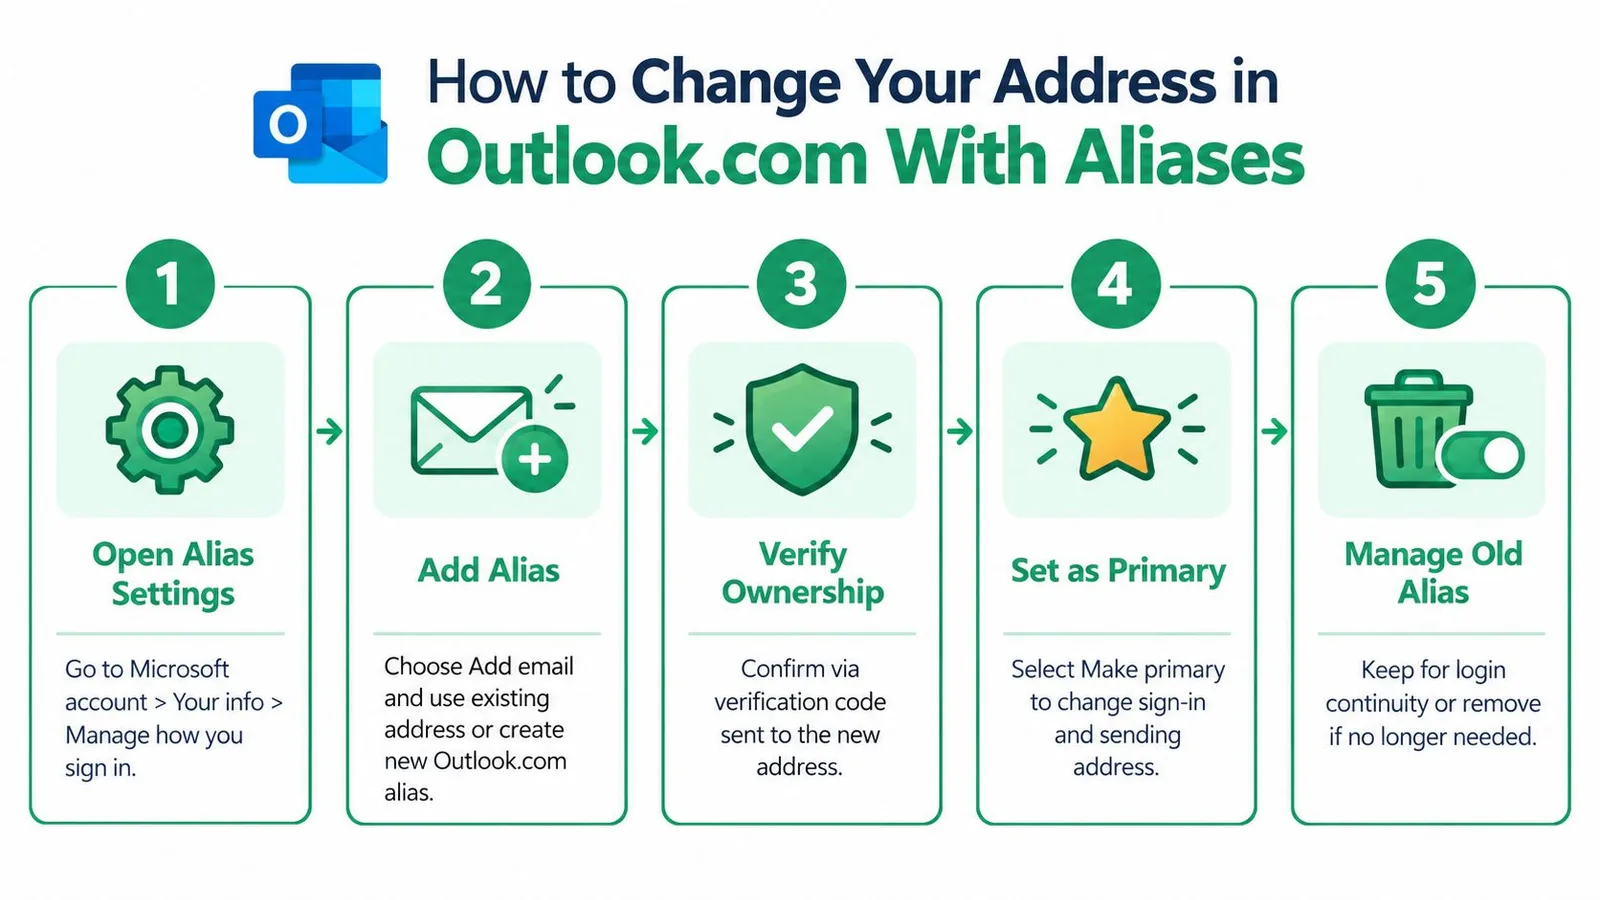
If you want to keep one Microsoft account and its existing mailbox while using a different address, an Outlook.com alias usually fits that situation. You can add an existing email address or create a new Outlook.com address, then select Make primary for the address you want to use, according to Microsoft’s Outlook.com alias guidance.
Open the alias manager at account.live.com/names/manage. Sign in with the Microsoft account connected to the current Outlook.com mailbox, then review the addresses already listed. This page manages identities attached to the same account. It does not create a separate mailbox or transfer messages to another account.
Add the address first
Select Add email. Choose an existing email address or create a new Outlook.com address, depending on the options Microsoft presents for your account. If Microsoft requests proof that you own the address, complete that verification before trying to make it primary.
The new address begins as an additional alias. Adding it alone does not change the account’s primary identity or guarantee that new messages will use it in the From field.
Promote the alias
Locate the new address in the account list and select Make primary. Microsoft will then treat that alias as the main account identity for sign-in and related account activity. Check Outlook’s sending preferences and saved signatures afterward, because those settings may still contain the former address.
Keep the old address until the new primary alias works. Microsoft’s alias arrangement requires another alias to be promoted before the former primary address can be removed, helping preserve access to the account.
Decide what to do with the old address
You can keep the old alias for sign-in continuity or remove it after checking recovery details and connected services. Removing an alias is an account-management change, not merely a display adjustment. People who have the old address may still send messages to it, so consider ongoing conversations before deleting it.
The alias workflow remains the relevant path for this type of Outlook.com change. Older advice promising an inbox-level rename can lead you to the wrong screen.
Microsoft 365 Work Accounts and What to Check After Changing
A work or school address is managed inside your organization’s Microsoft 365 tenant. If Outlook does not let you edit it, the restriction may reflect account permissions rather than an app problem. Personal Outlook.com aliases and work identities follow different routes: an administrator usually changes a Microsoft 365 username, primary email address, or alias in the Microsoft 365 Admin Center under Users > Active users.
Before IT changes anything, state which result you need. Adding a separate account gives Outlook another mailbox. Promoting an Outlook.com alias keeps the same personal mailbox. Requesting a Microsoft 365 username change alters an organization-managed identity. These are three different jobs, even though each may be described as “changing the email address.”
Ask your administrator to confirm whether the request covers the username, primary email address, aliases, or several of these. Tenant permissions and licensing can limit the available edits. Changes in managed environments may also take time to apply, as discussed in the Microsoft Q&A discussion of Outlook alias changes.
Verify the change across your workflow
After IT confirms the update, test the mailbox rather than relying on the account page. Send a message to another account, inspect the From address, and reply to the test message. Confirm that the reply reaches the intended mailbox. Check Outlook on the web and the desktop app, since their saved settings may differ.
In Outlook on the web, review Mail > Sync email > Set default From address if the available options include that path. Then check:
- Signatures: Replace the former address in automatic signatures.
- Contacts: Update your contact card and key records.
- Recovery details: Confirm that the recovery email and phone still work.
- Rules and forwarding: Look for conditions or destinations using the old address.
- Devices: Sign in again on desktop, mobile, or browser Outlook if prompted.
HR and people-operations teams can use this Microsoft 365 for HR teams resource for broader workplace context. If your organization sends messages through several services, review email authentication guidance so a visible address update does not get mistaken for a change to every sending system.
Final Checklist and Next Steps for a Smooth Switch
Before calling the change complete, test the result from the perspective of someone receiving your message. A correct address should appear in the From field, replies should return to the intended inbox, and your Outlook signature should no longer display outdated details.
Use this short checklist:
- Identify the account owner: Decide whether the address is a separate mailbox, an Outlook.com alias, or a Microsoft 365 work identity.
- Keep access available: Don’t remove the old account or alias until the replacement works.
- Test sending: Send a message to another account and inspect the sender address.
- Check recovery: Confirm that you can still recover or verify the Microsoft account.
- Update saved details: Review signatures, contacts, rules, forwarding, and connected devices.
- Coordinate with IT: Ask a Microsoft 365 administrator to confirm the change has applied across the organization.
- Migrate deliberately: If you’re moving messages between services, use a focused guide to import emails to Gmail from Outlook.
Keep one working route into the account at all times. Promote a replacement alias or test a new mailbox before removing the previous address.
The safest method depends on the result you want. Use an alias when the mailbox should remain the same, add a new account when you’re switching mailboxes, and involve an administrator when Microsoft 365 controls the identity. Afterward, test sending, update your signature, and tell important contacts about the new address.
If you’re moving outreach from Outlook to Gmail, Mail Merge for Gmail helps you send personalized campaigns from Gmail using Google Sheets, with templates, scheduling, attachments, and delivery and engagement status tracking. Visit Mail Merge for Gmail to see how it can support your next organized address transition and follow-up campaign.
Ready to send your first campaign?
Install Mail Merge for Gmail from the Google Workspace Marketplace and send up to 50 personalized emails per day for free.
Get started for freeMore reading
More from Guides
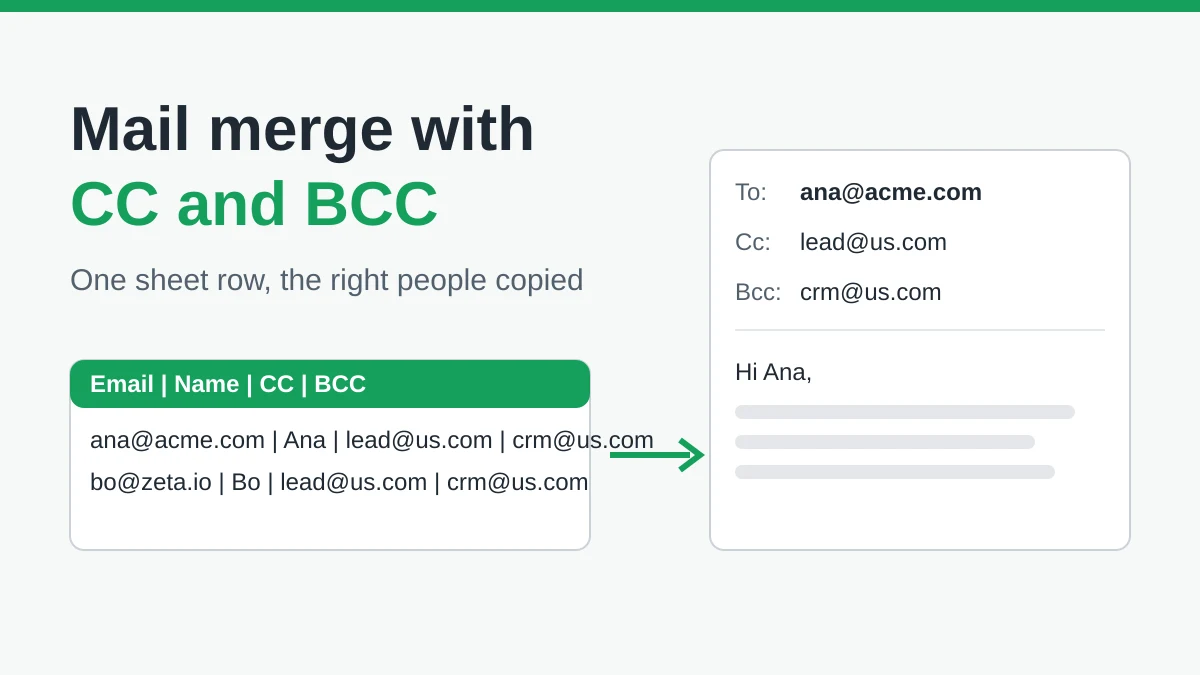
Mail Merge with CC and BCC in Gmail: Copy the Right People on Every Email
Learn how to run a mail merge with CC and BCC from Google Sheets, set up the columns, preview the result and see how copied recipients count toward your daily quota.

Gmail Sending Limit Reached: What It Means and How to Finish Your Campaign
Hit the Gmail sending limit reached error? Learn the real daily limits, when you can send again, and how to split a mail merge into safe daily batches.

Personalized Email Gmail: The Complete Guide
Master your personalized email Gmail workflow. Learn to merge Sheets data, track opens, and scale one-to-one outreach without leaving your inbox.